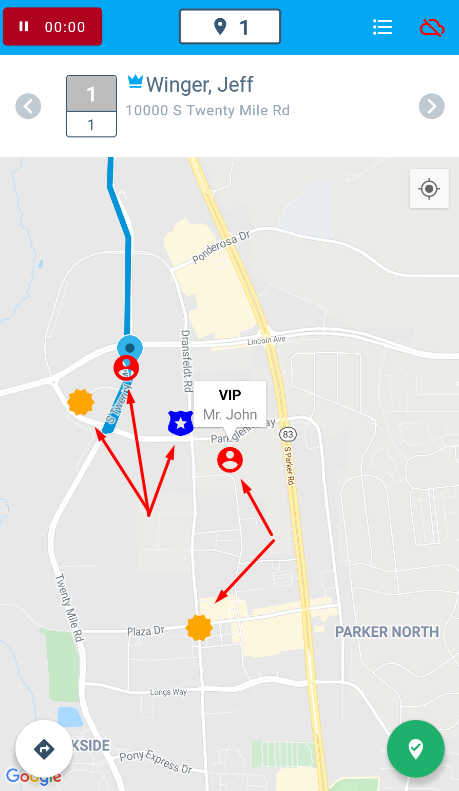
The Enhanced Marker Overlay is a feature designed to highlight POINTS OF INTEREST to the driver. They are not necessarily associated to the route, altough there can be some shared addresses. A point of interest could be, for example, a possible new customer that the driver should visit in order to make a deal, or a VIP customer which should be treated specially.
It will display some icons with extra information in the places that we want to point out.
HOW TO ACTIVATE IT
In order to start unsing this function, there's some work you need to do with our Support team:
1. Create a public Google Sheet
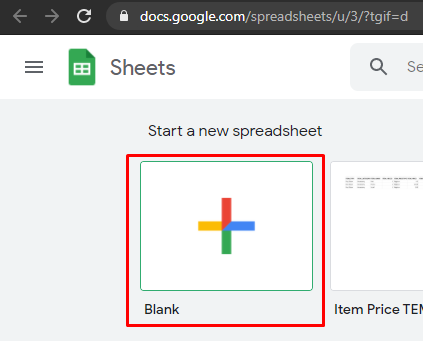
Go to Google Sheets and create a new blank document.
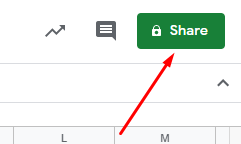
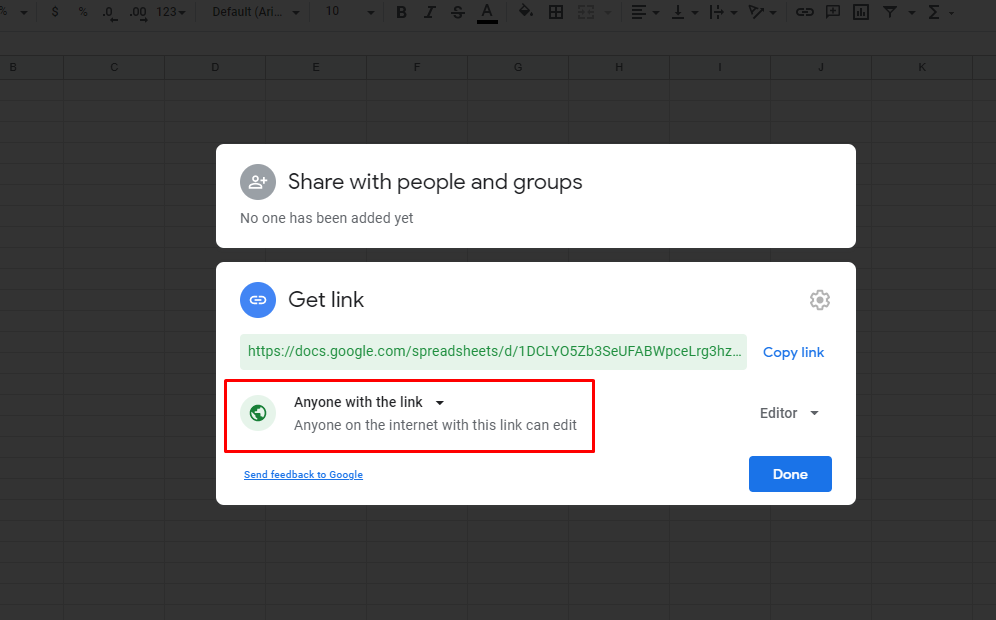
2. Hit Share, Make it PUBLIC and share the link with your Dark representative.
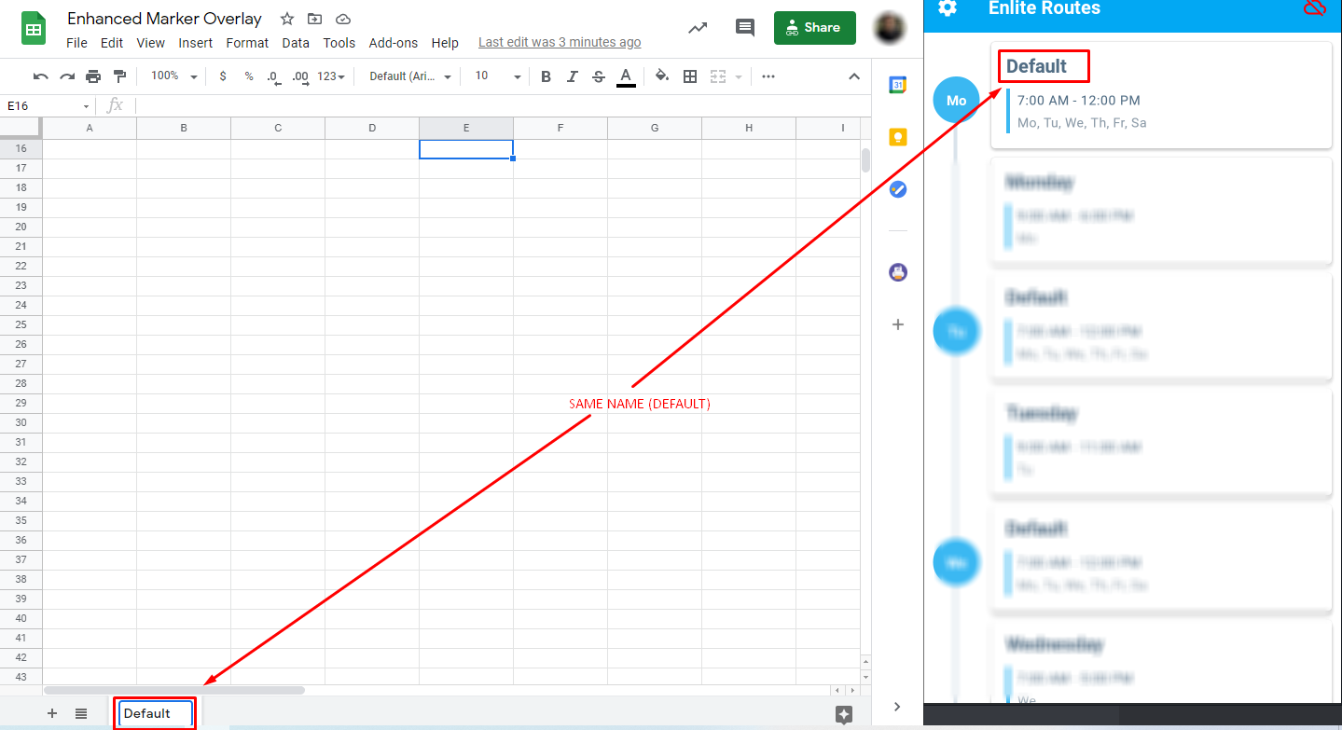
3. Rename the name of the page to be exactly as the name of your Route.
4. Enter the following columns:
| TITLE | DESCRIPTION | COLOR | ICON | ADDRESS | STREET | CITY | STATE | ZIP | COUNTRY | LATITUDE | LONGITUDE |
|---|

5. Please fill these columns for every point of interest:
a. Title: Name that you want to give to every POI. The business or customer name, for example.
b. Description: Some more information related to the POI. Maybe the category that you want to give it, such as "VIP, LEAD, etc".
c. Color: You can choose any color, either with the #HEX format or just typing in the name of the color. Ex: "Blue, red, #ffffff".
d. Icon: You can put the name of any icon that is listed in Material Design Icons.
e. Address: You can copy and paste the address exactly as it is in Google Maps. Note: Do not copy the country or anything after the zip code.
f. Street, City, Zip and Country: No need to fill up these columns you are copying and pasting the full address in the Address column as it is in Google Maps. Otherwise, you can type in all these fields, but there's a chance that the app won't recognize them.
You shouldn't worry about the Latitude and Longitude, those values will be filled automatically when initiating the route.

6. Contact Support
Once you typed in all your points of interest, you may notify us to [email protected], call or chat with us, that your sheet is ready for the integration. We should enable it in a short time and let you know.
7. Enable the setting and start using it!
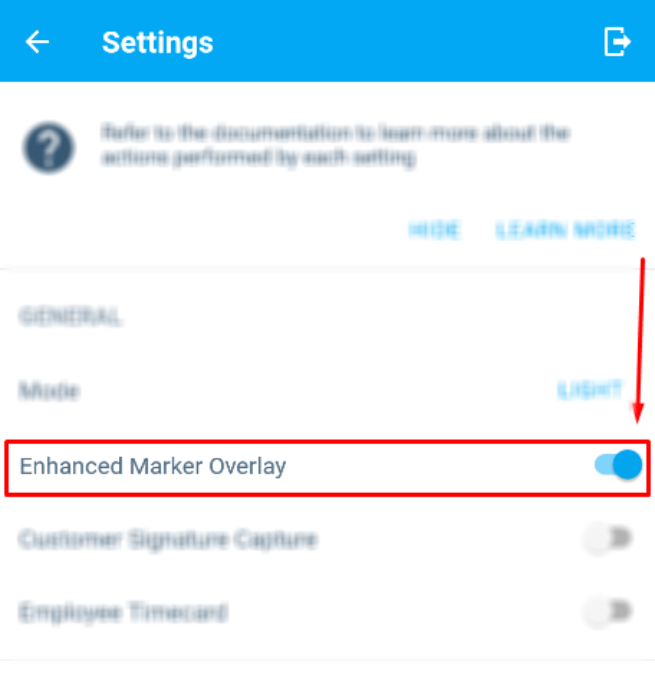
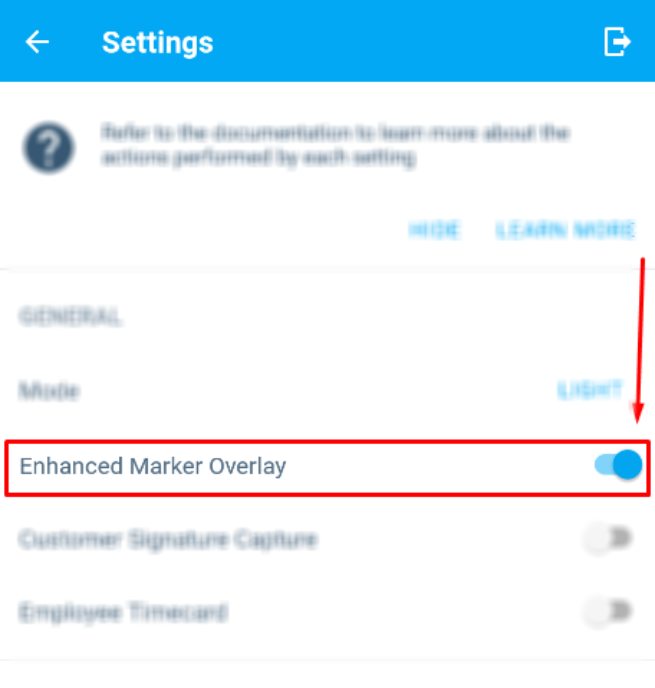
Once Support integrated your sheet with the app, you can enable the Enhanced marked Overlay setting and start using it! You can always go back to the public sheet to add, delete or modify your points of interest.
Any questions, please contact our Support Team.
Learn more about other Enlite Routes settings in this article: Enlite Routes App settings