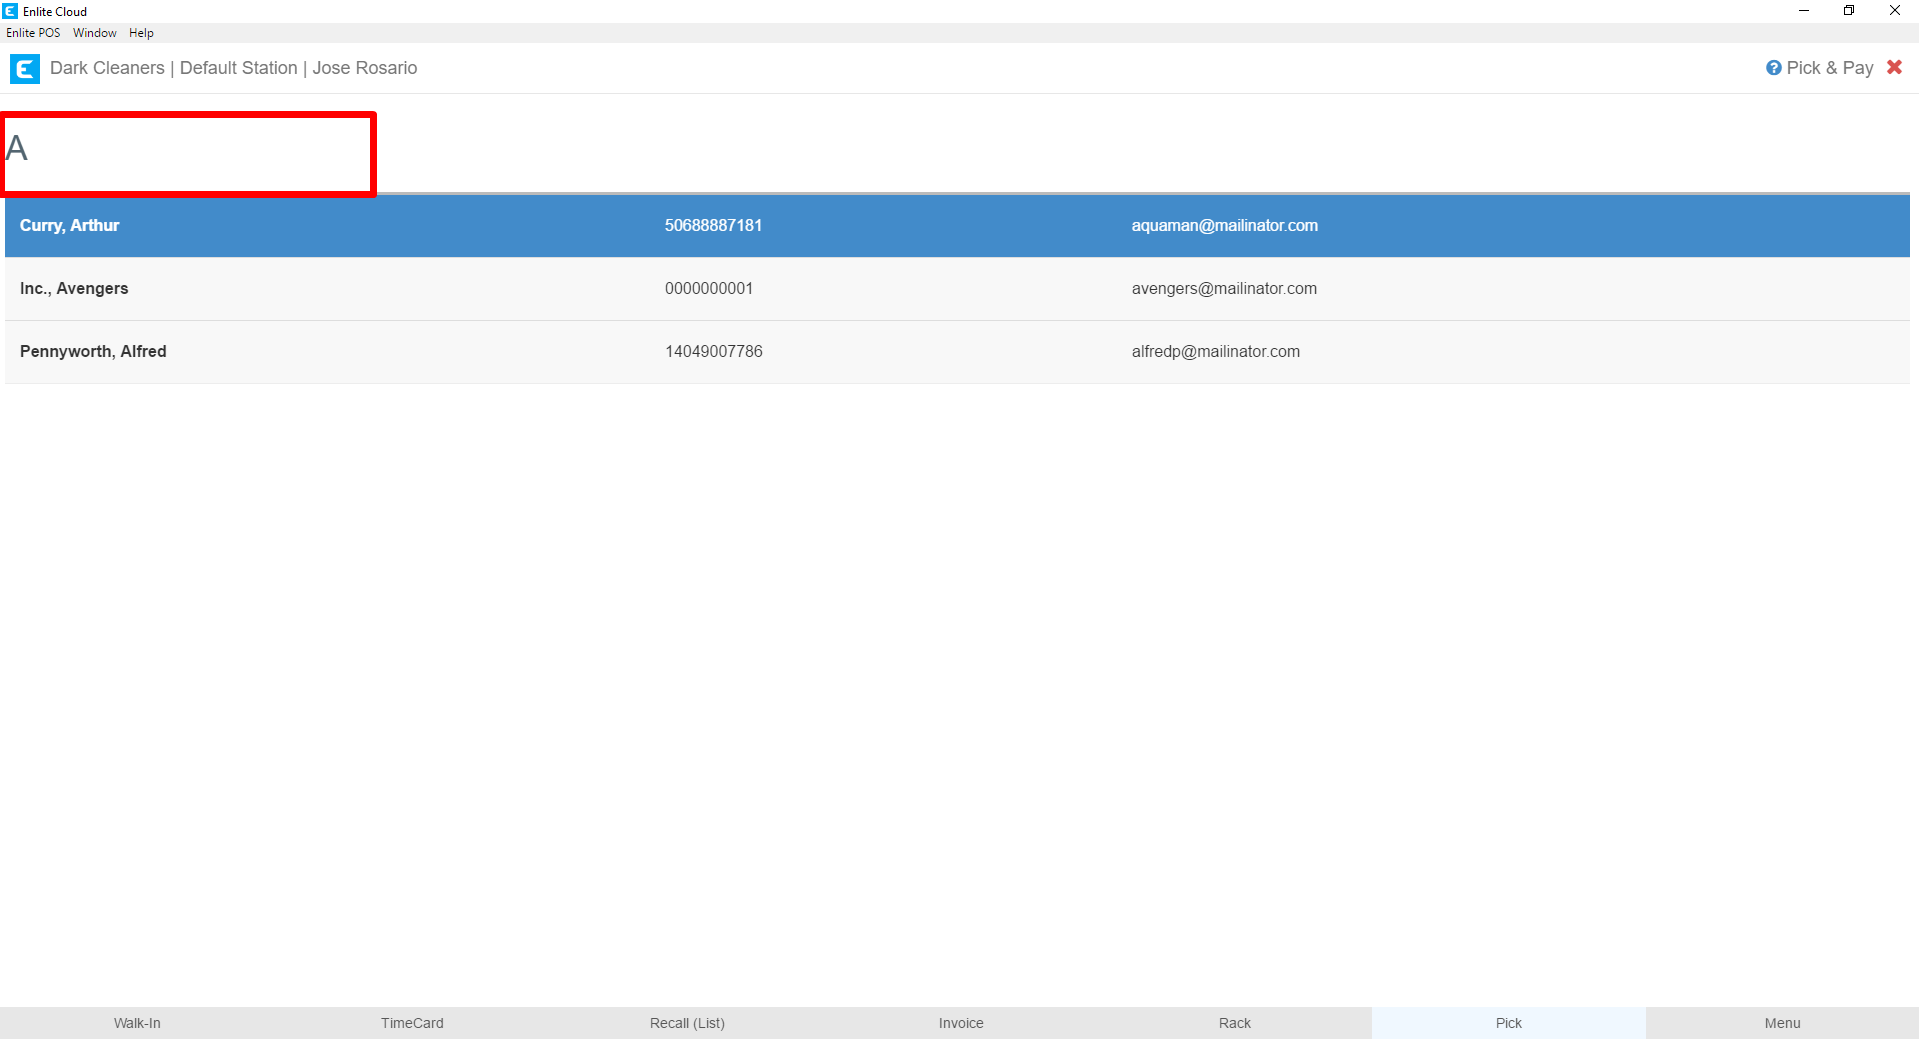
There are a few options to reach the Pick & Pay screen. You may reach it from the Main Menu by selecting the Pickup and Pay button or by selecting the Pick option from the footer menu. The footer menu will be available in most areas of the application, so it is a great shortcut if you are not on the Main Menu screen.

Either option will take you to a search screen where you can search for the customer you need via all the search options. When ready, select your customer.
The other option for reaching the Pick/Pay screen is to go through the Customer Walk-In, search for your customer and then select the Pick & Pay button that will be flashing red. This button will only appear if the customer has an open invoice. If you don’t know how to create an invoice.

Either route will land you at the Pick & Pay module. It presents the selected customer and their open invoices. By open invoices, we mean that the invoice is either pending payment, pending pickup, or both. For this customer, we show 2 invoices.

Let’s begin breaking down the controls on this screen. The top bar of buttons allows you to:
a. Invoice Detail: Opens a modal where you can see the individual items in the selected invoice and individually mark garments for pickup or payment. The selected invoice is the one with the thin red indicator to the left of the record. This can also be done by expanding the invoice which we will see on the next step.
b. Ready: Will select for pickup and payment all invoices that have been racked and are ready for Pickup. You can distinguish these invoices because they have a thin green indicator to the left of the record, also, they have a Rack assigned in the Rack column and also have a date in the Ready column.
c. Picked: Will select for payment all the invoices that have been picked up.
d. All: Will select for both Pickup and Payment all invoices in the list.
e. None: Will remove the Pickup and Payment checkbox selection from all invoices.

The next section is the invoice list. You can see the columns for the data displayed across the top. I want to draw your attention to 3 items.
a. You can expand the invoice to show all the items it contains. You do this by clicking on the little blue chevron by the “a.” indicator in the picture below. In this example, I have expanded invoice 515-1 to display all the garments it contains.
b. The most important control on this list are the checkboxes. Note that each invoice and invoice item have a checkbox under Pick and under Pay. You may select only Pick without Pay, only Pay without Pick or select both. What you select will determine what is applied to the invoice or invoice item in that record. When you select the checkbox at the invoice level indicated by the “b.” in the image below, all the items in the invoice will also become selected. Remember the system will only close an invoice once the Pickup and Payment actions have been completed. If an invoice has been partially paid, the system will track the balance due and the invoice will remain open until the balance has been paid.
c. You can apply the Pick and/or Pay action to individual garments on the invoice by using the checkbox in the garment row after the invoice has been expanded. You can see these checkboxes by the “c.” in the image below.

You may have noticed that Invoice 494-1 was selected for both Pick and Pay from the moment we reached this screen. The reason is that the invoice has been racked. When invoices are racked, the system assumes they are ready for pickup and payment. You distinguish racked invoices by the green indicator to the left of the record, the rack location in the Rack column and the date in the Ready column.

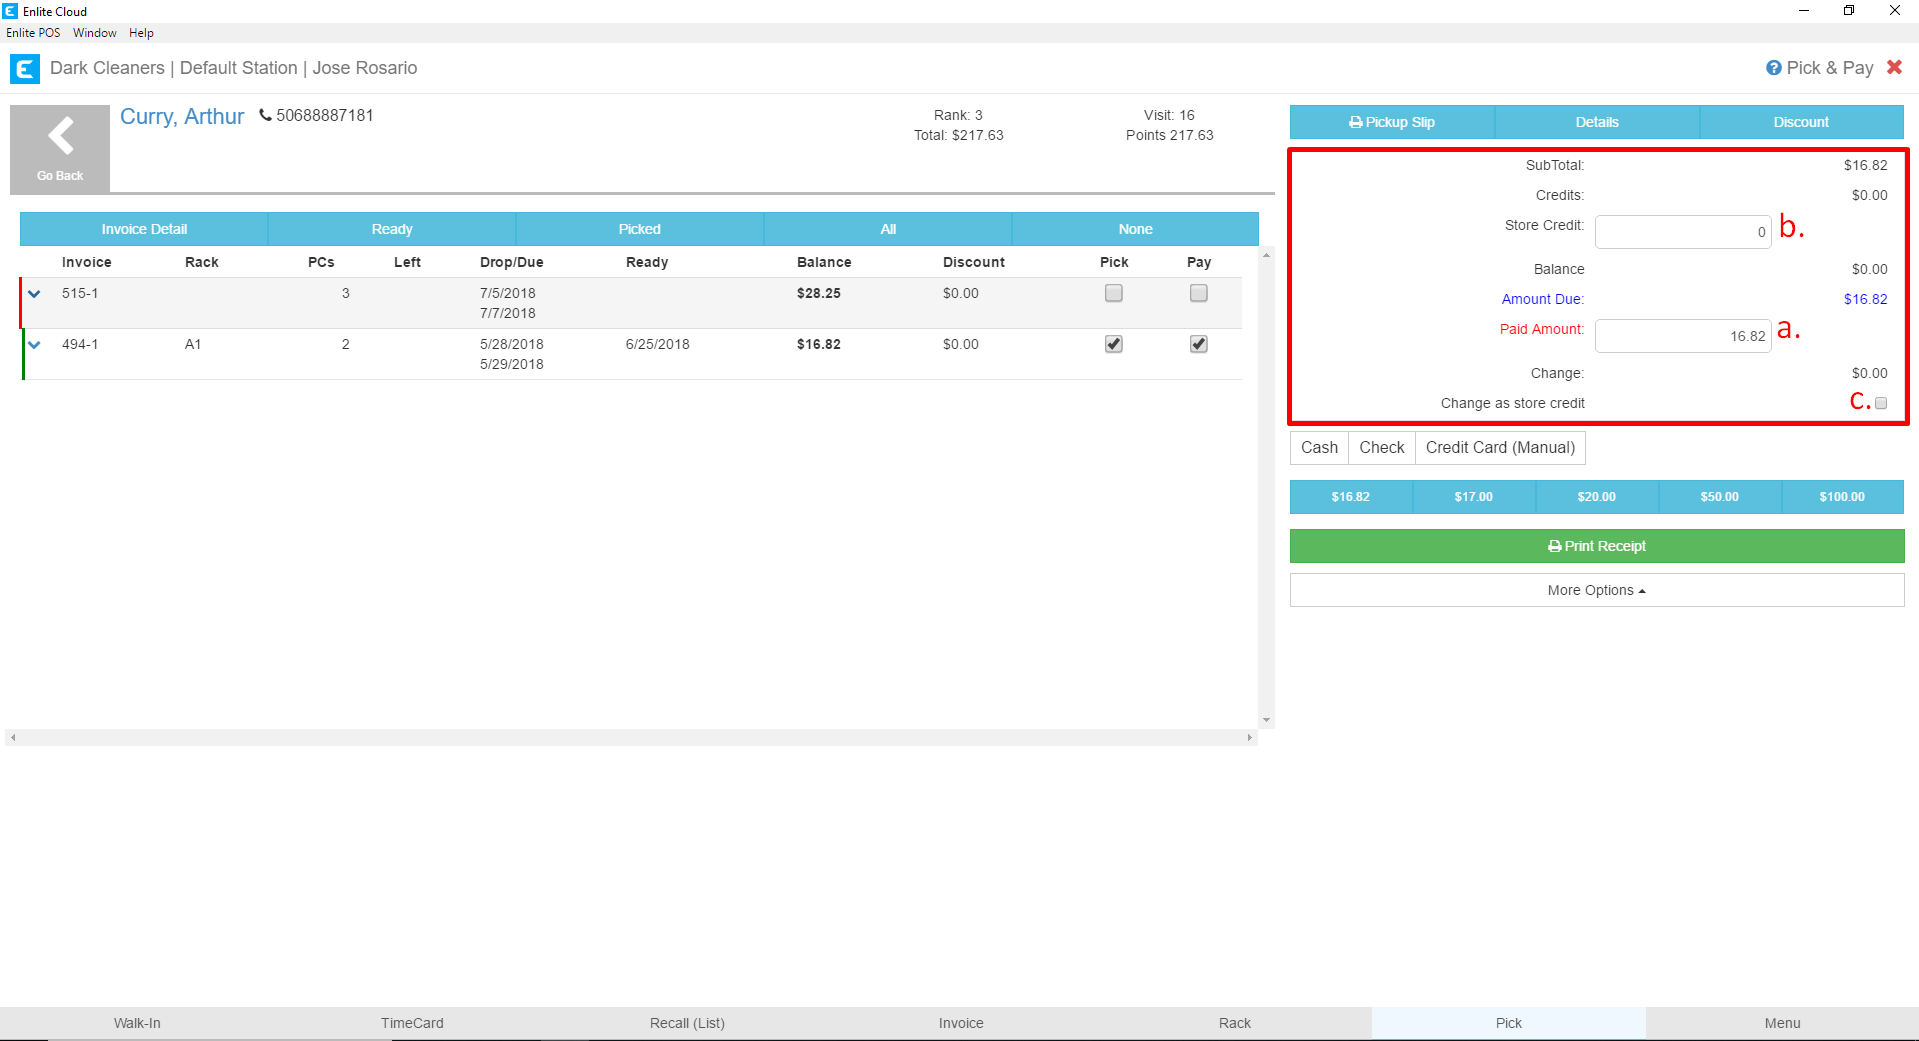
For the invoices selected for payment, the amount details will appear on the right side of the screen.
a. Paid Amount: This field will automatically populate with the sum of the balance due on all of the selected invoices. This field is editable, if a customer gives you more or less than the amount due you can key in the amount received in this field.
b. Store Credit: If a customer has Store Credit available, the amount the customer wishes to apply to the payment can be entered in this field.
c. Change as Store Credit: If the customer pays an amount greater than the amount due. You may deposit the extra amount into Store Credit by checking this box. The alternative is just to give the customer their change. This decision can also be made after the payment is received.
The next step is to select a payment method. Your store may have different payment methods configured. However, a payment method selection must be made to apply a payment to an invoice. In the example below, we have selected Cash. Because we have selected Cash the system displays a row of blue buttons beneath with the various denominations we might receive from the customer. This is optional as the amount can be entered in the Paid Amount field. The blue button you select will populate the amount the button shows into the Paid Amount field.

If you select Check you will be given the option to enter a Check Number, this is not a required field.

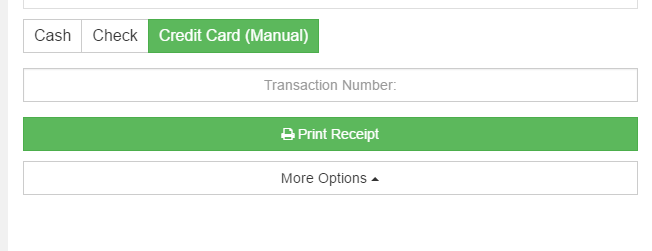
If you select Credit Card (Manual) you will be given the option to enter a Transaction Number, this is not a required field.
If you are integrated with a payment processor. When you select their payment option, you will be shown the fields required by that processor to complete the payment.
For this example, we are going to enter $20 in the Paid Amount field and to commit the actions we have selected we will click the Print Receipt button. This is going to apply the Pick an Pay actions that we have selected for the invoices an will also print a payment receipt for the customer.

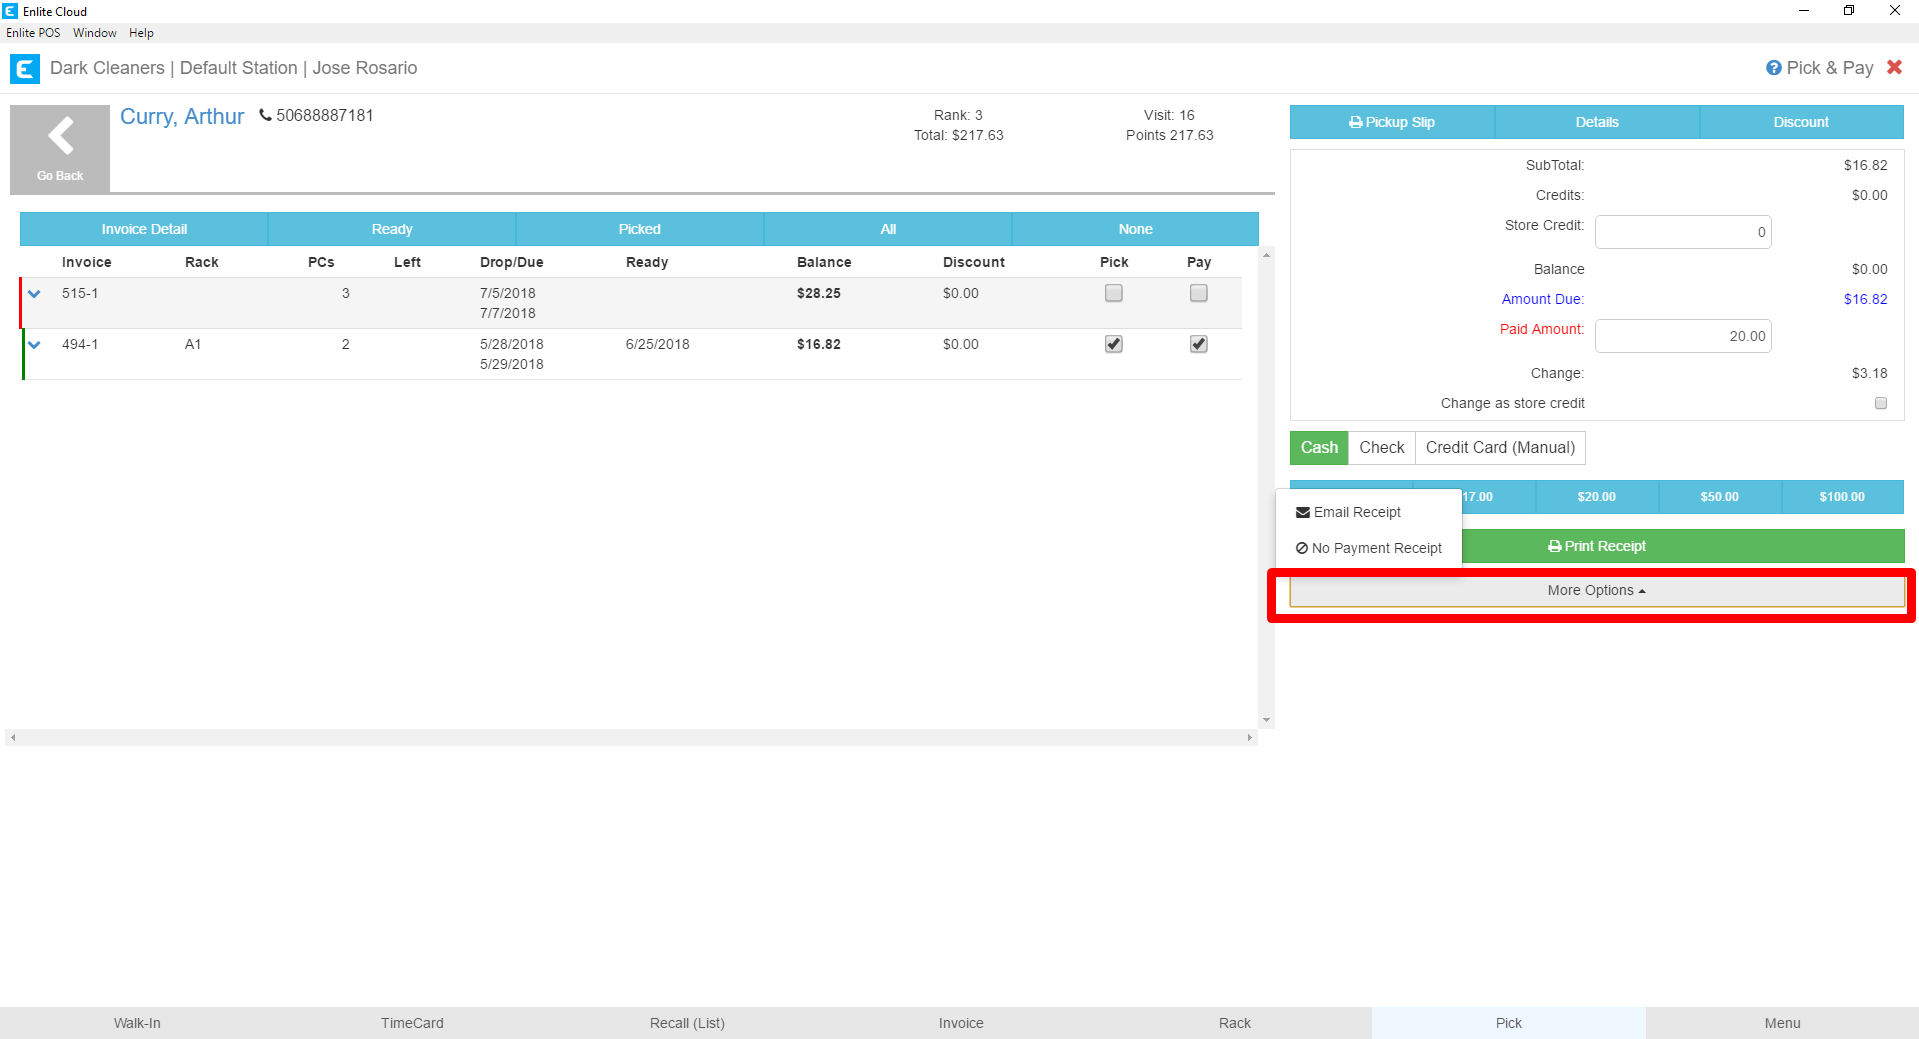
You may also select the More Options button and you will be given the option to email the payment receipt to the customer, or not print a payment receipt. Selecting either of these options will also apply the Pick and Pay actions to the selected invoices or items.
After pressing Print Receipt, the system will display the change amount to give the customer and will allow you to deposit it to the customer’s account as store credit if they wish to do so. We will select No Thanks, meaning that we will give the customer back his change.

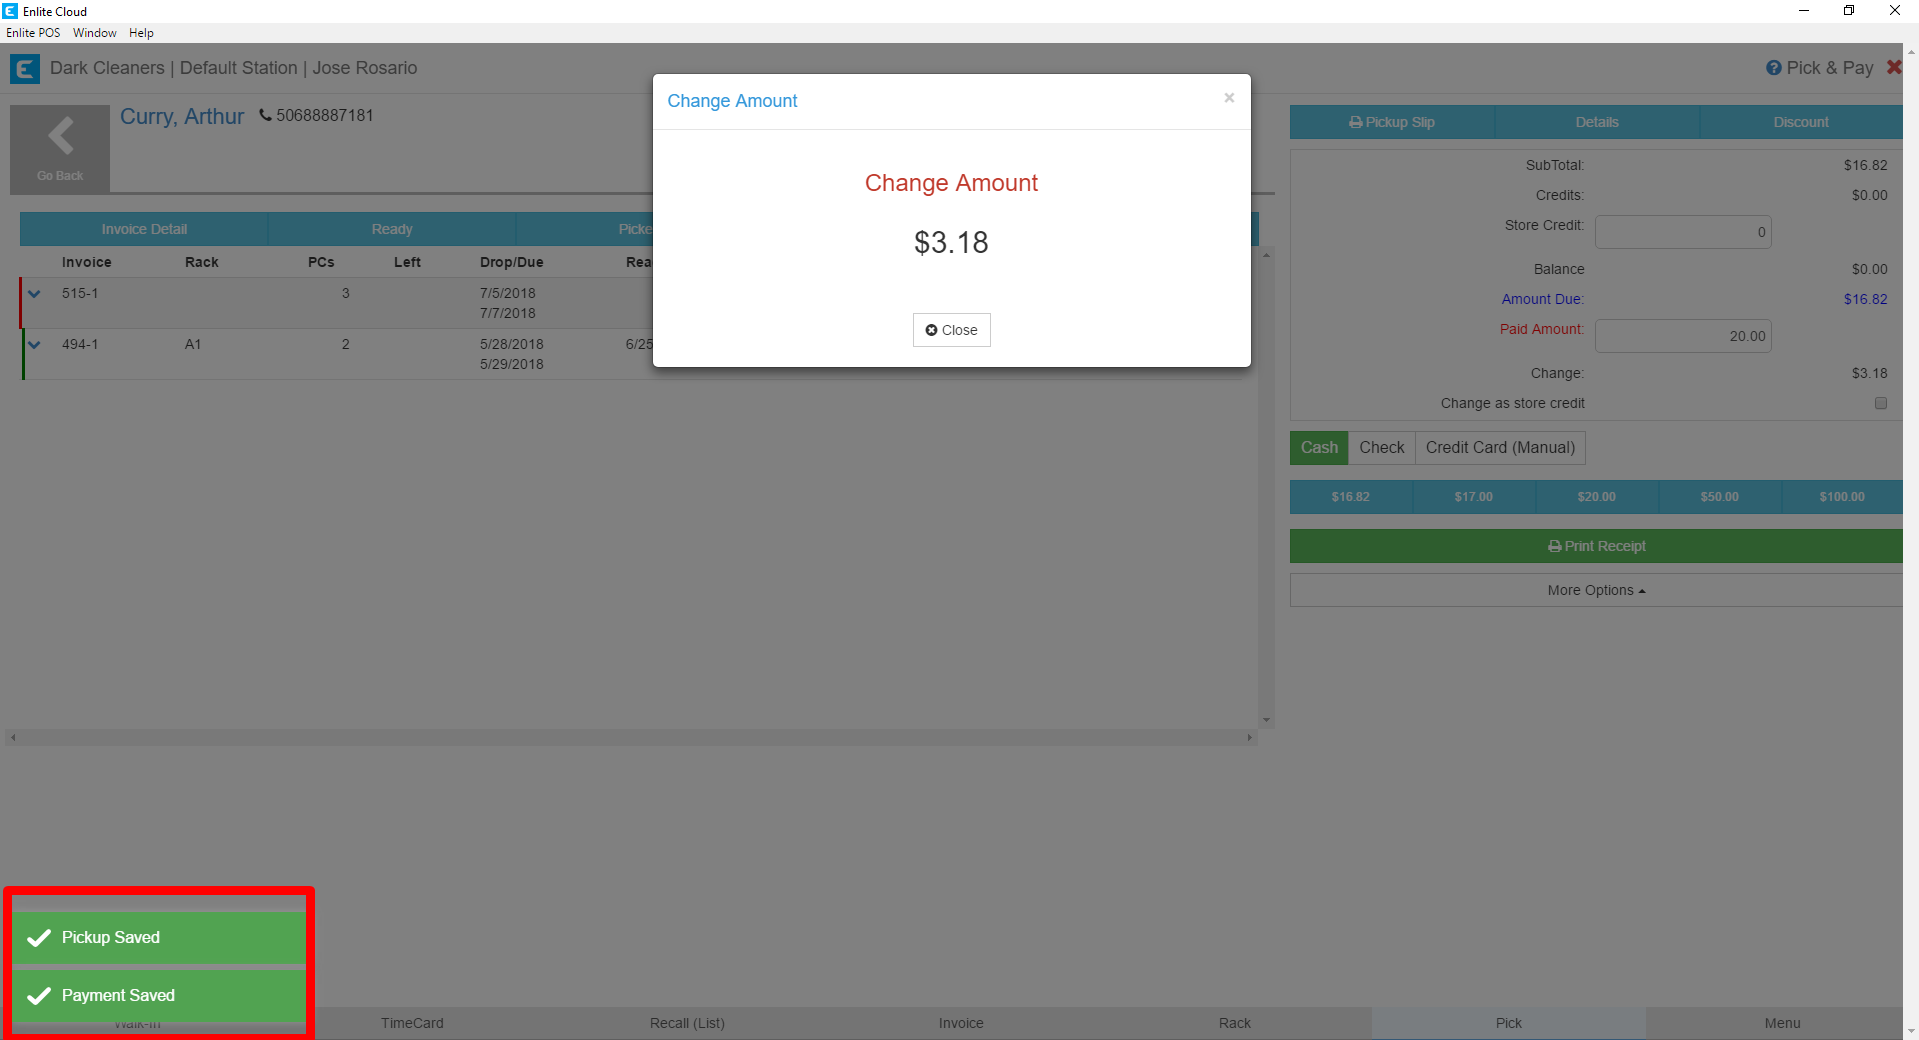
You will receive a green confirmation on the bottom-left of the screen showing that the selected Pickups and Payments have been applied. To reduce errors in providing change, the Change Amount modal will remain on the screen until the user closes it. Once the user closes it, the transaction is complete you will be redirected to the Customer Search to work with the next customer. If you prefer to stay on the payment screen after completing a payment, contact [email protected] so that we may apply that configuration.
