
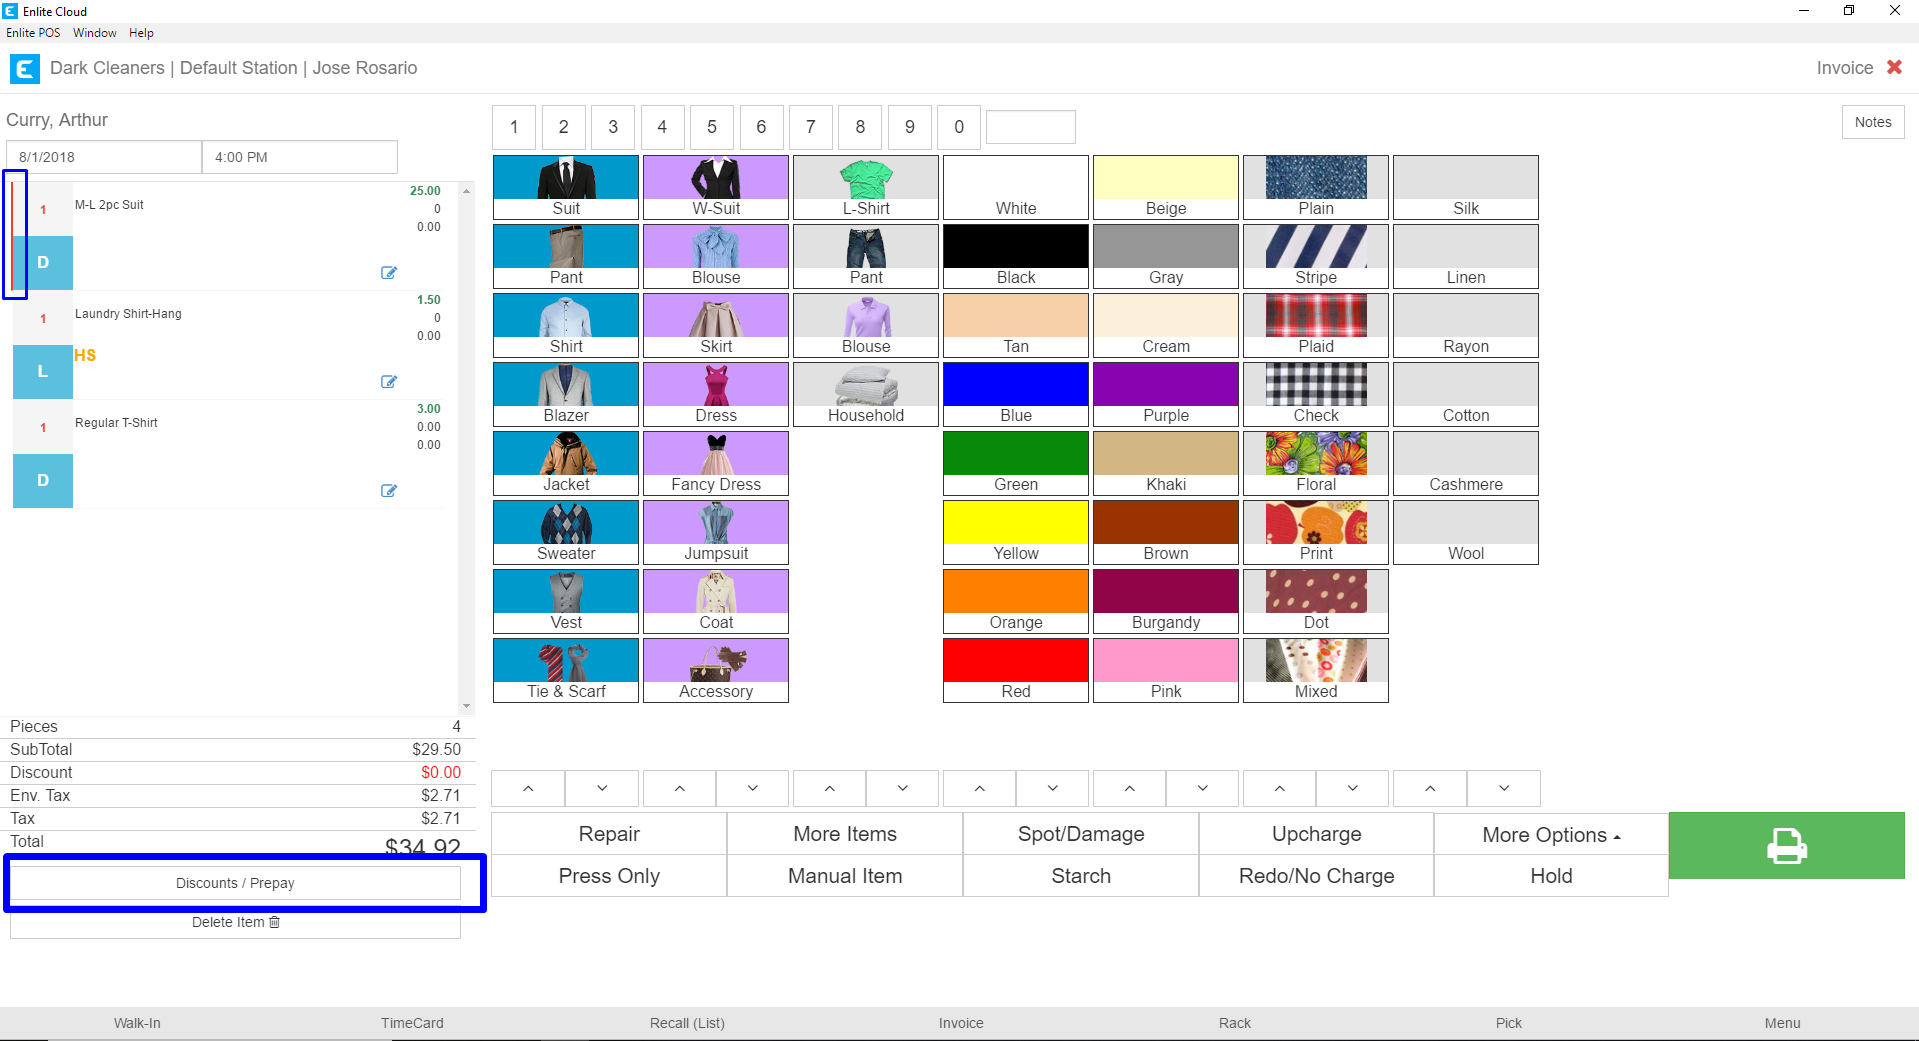
1. To apply or remove discounts and coupons you need to start by adding items to your ticket. You do this from the Detail Invoice screen. If you don’t know how this is done, please refer to this article (https://darkposkb.groovehq.com/help/creating-invoices). First, we need to notice what our selected item is. This is shown by the small thin red line next to the item. This is our active or selected item. So that if we were to apply a coupon or a discount to a selected item, that is the one we are referring to. Next, we click on the Discounts/Prepaybutton.
2. A modal will appear with the information required to apply a discount or coupon. The buttons horizontally across the top, determine to what item or items the discount or coupon will be applied. You can Discount All or just the Selected item, as explained in the previous step, or you can apply discounts and coupons by service type. Next, in the section beneath that, you can select what discount or coupon you want to apply. The options on the left are Discounts, meaning they will apply a percentage discount, like 5% off one or more items. The options on the right, are coupons and will apply an absolute amount discount, like $5 off one or more items. We will be selecting the Happy Friday discount and then we hit the Apply button on the bottom-right of the form.
If you don’t know how to setup discounts and coupons in your system, please refer to the following articles:
1. Creating Discounts - https://darkposkb.groovehq.com/help/configure-percentage-discounts
2. Creating Coupons - https://darkposkb.groovehq.com/help/configure-coupons

3. The Happy Friday discount was applied and because we had selected to discount all of the items, a 5% discount was applied to each item in the list. The total discount is shown in the summary section beneath the line items.

4. Let’s remove this discount and apply a coupon. To do this, we click on the Discounts/Prepay button again.

5. On the modal, we select the Remove Discount button. Note that once again, we are choosing Discount All, so in this case, the discount removal, will apply to all our items. If I wanted to, I could remove the discount from a particular item by having selected that item first and then choosing Selected from the discount modal below.

6. Now the discount was removed and all the discount fields have all been returned to 0, and the Discount total in the summary section has been updated.

7. Now, we go back into the discounts and this time we choose to apply it only to the selected item. I click on Selected from the top. Note that the selected item is the one with the thin red line to the left of the line item, this is highlighted by a blue box in the picture below. On the bottom portion, I’m going to select the Happy Birthday coupon from the option on the right. Note that with coupons you can also specify the quantity of coupons to be applied.
When working with coupons it is important to verify that the items to which the coupon will be applied, are of greater value than the coupon. The system will consume the coupon until the balance on the item is $0. It will not create negative entries. So if I apply a $5 coupon to a $3 shirt, the system will leave the shirt at $0, and the remaining $2 of the coupon, that did not get consumed, will be lost.
In our example below, I am applying a $10 coupon to the Selected 2pc Suit line item which is worth $25. When I have selected my coupon, I press the Apply button.

8. Once applied, I can see that the $10 coupon was applied in the discount field for only the selected item. Also, in the detail of the item, it shows the name of the coupon that was applied.
