Occasionally it is necessary to edit the creation or due date of a ticket or invoice. When backdating tickets or invoices, to maintain consistency across all reports, it is best to edit both the Ticket creation date and the Invoice creation date. If you edit only one or the other, it is possible that on a report that shows an invoice date instead of a ticket date or a vice versa, it won’t reflect the date you want because only one was edited. In this article, we will discuss how to edit both.
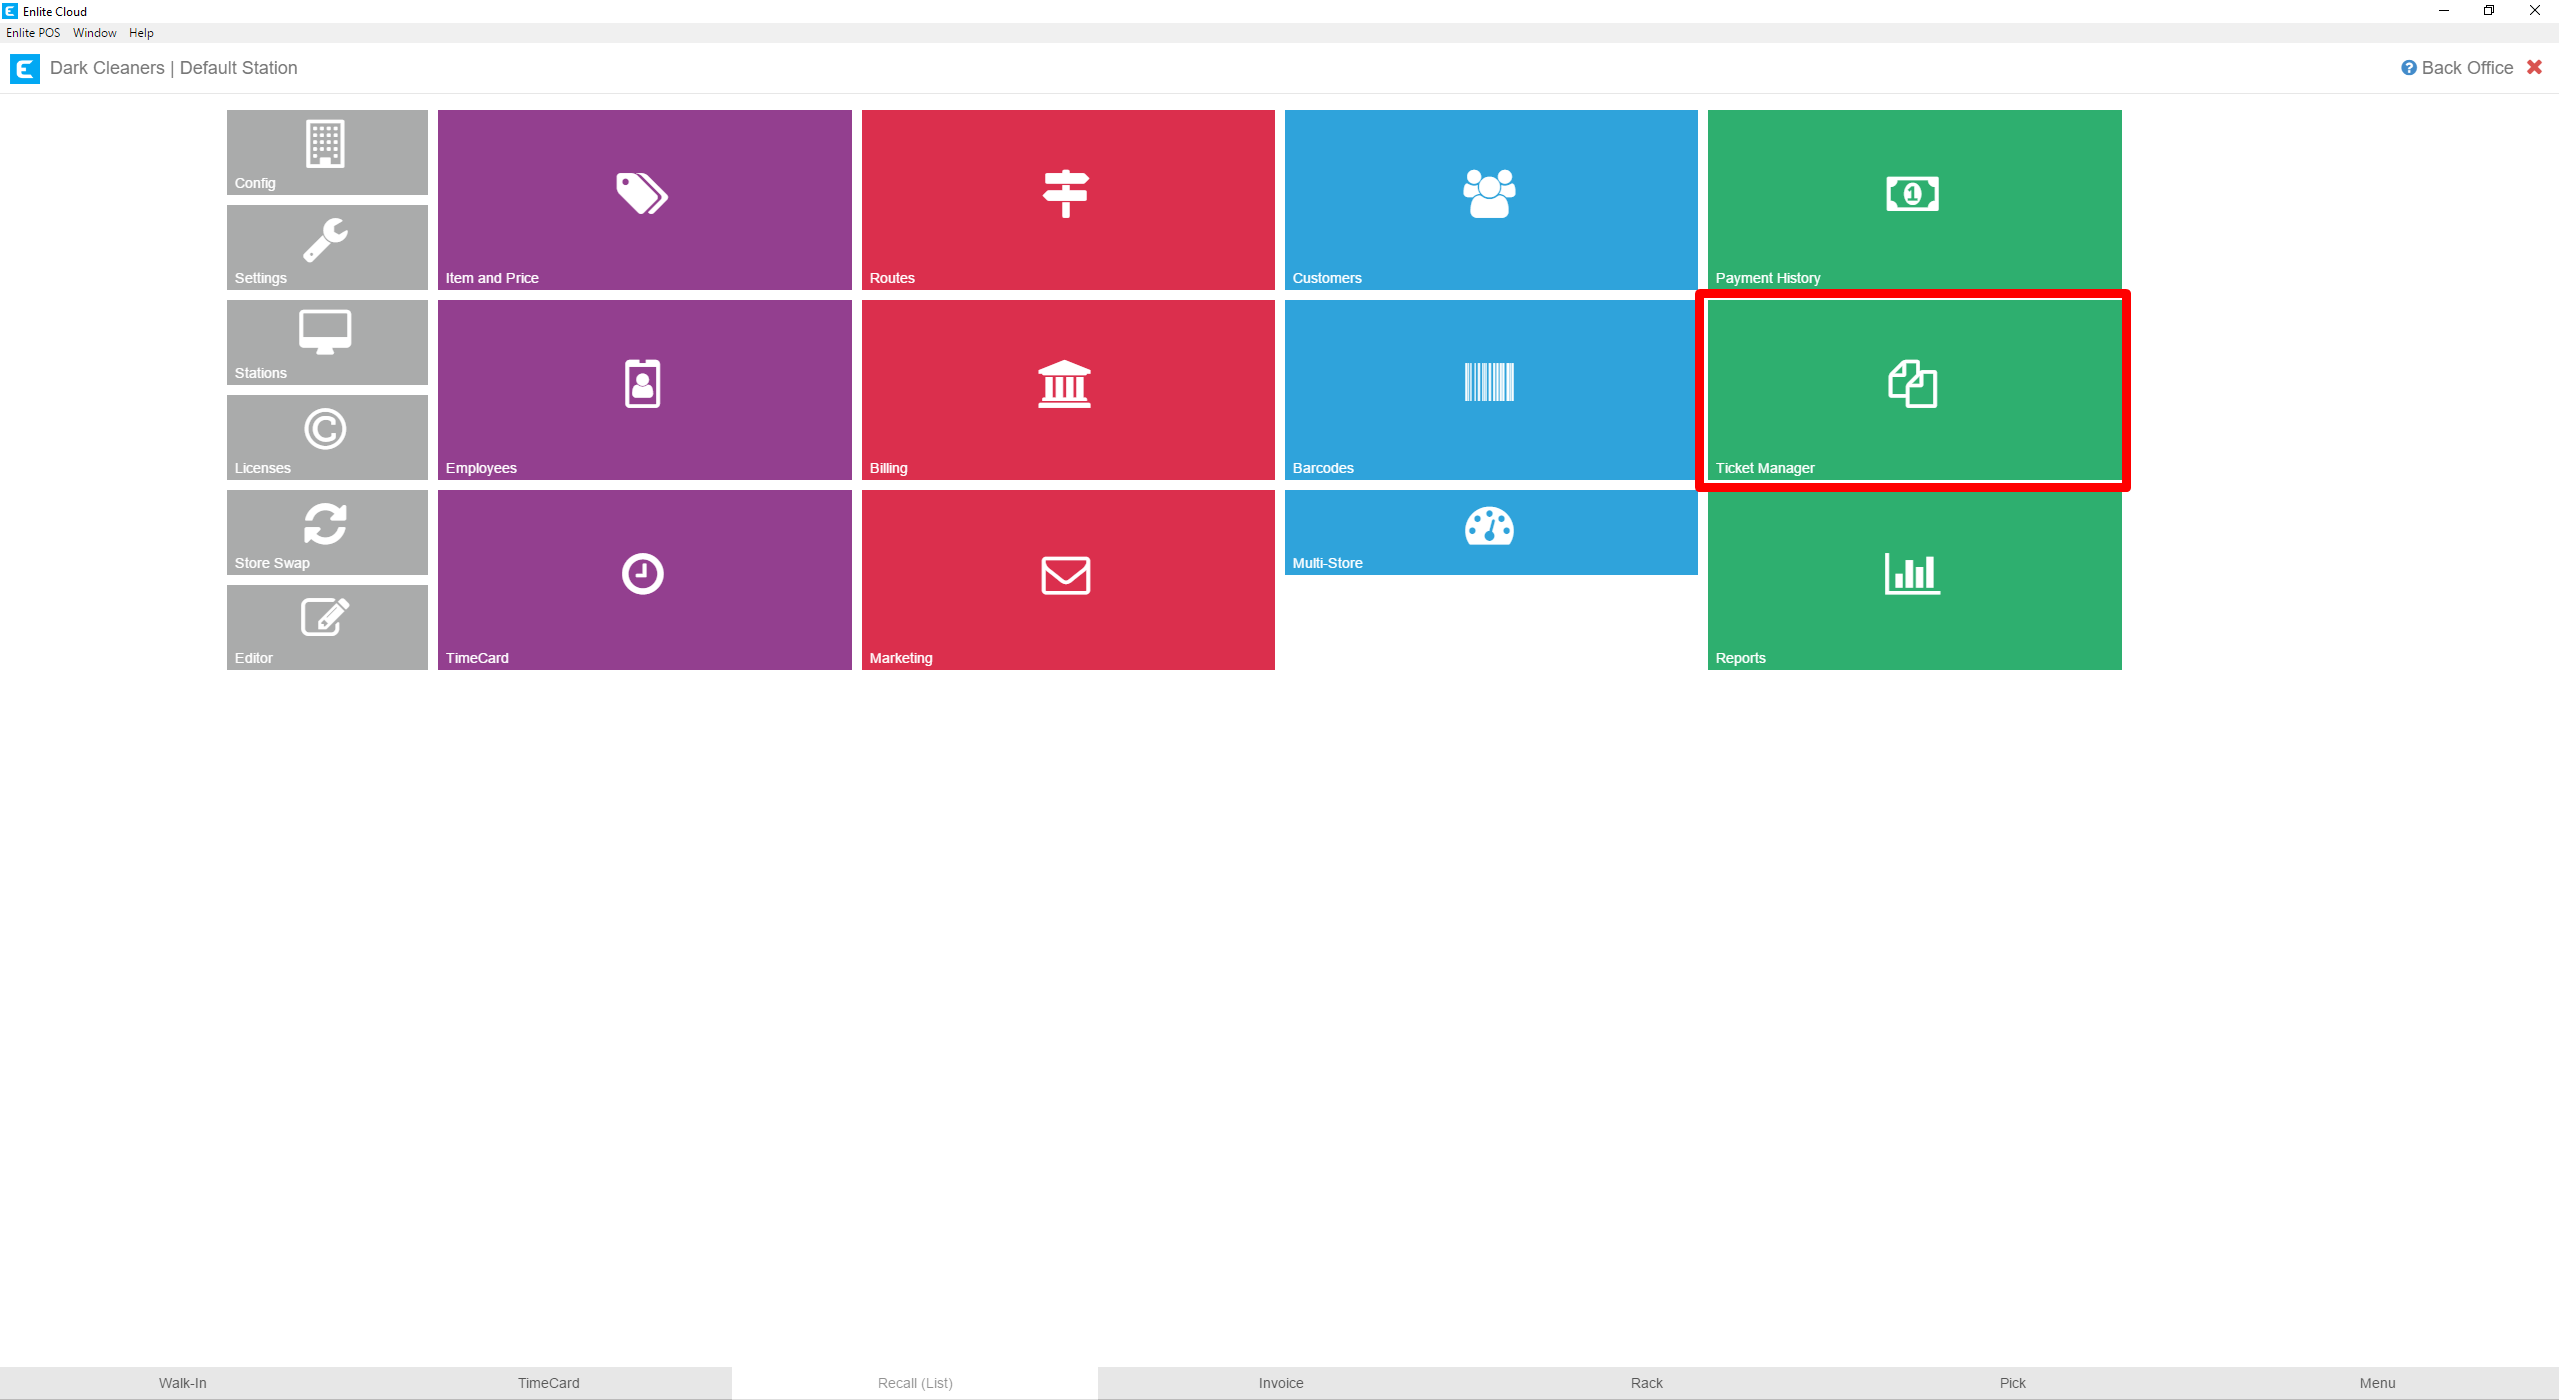
- Head to theTicket Managermodule in the Office section.
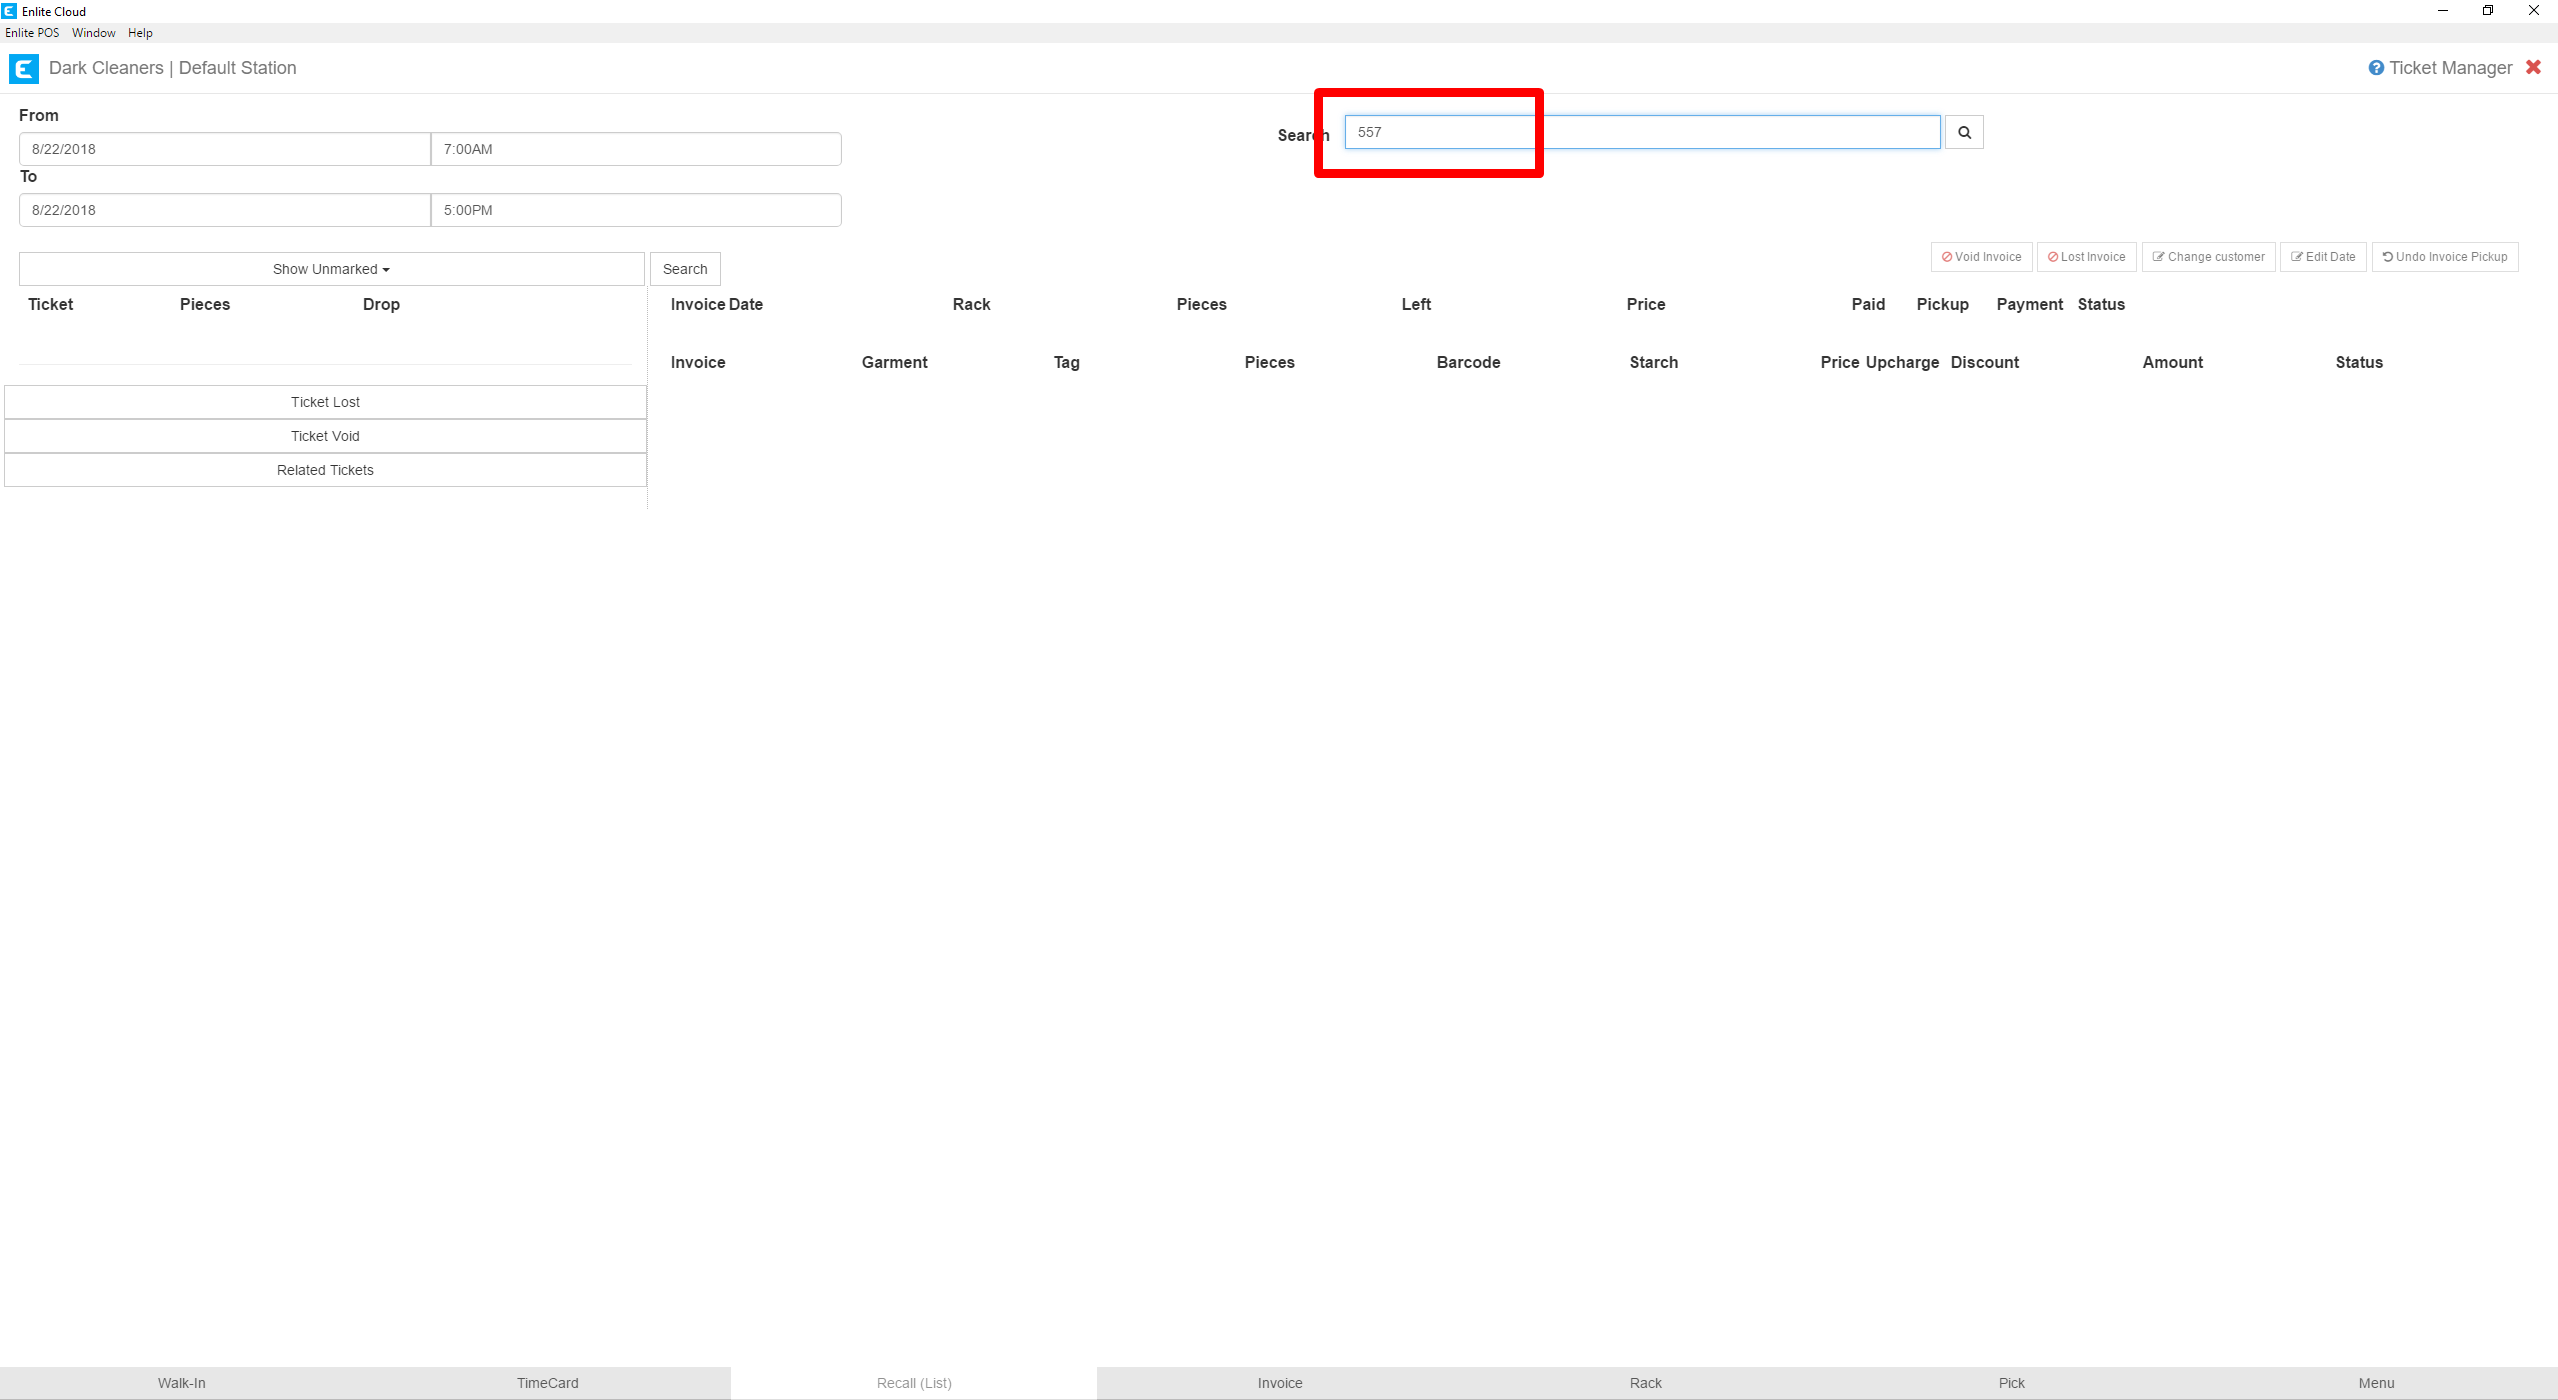
- Search for the customer name or ticket number you wish to change dates for. Please remember to search for the ticket. Tickets numbers don’t have dashes, in our example below, we are searching for ticket 557. Invoice numbers have dashes, for example, 557-1 or 557-2. In this search box, we want to enter either a customer name or a ticket number.
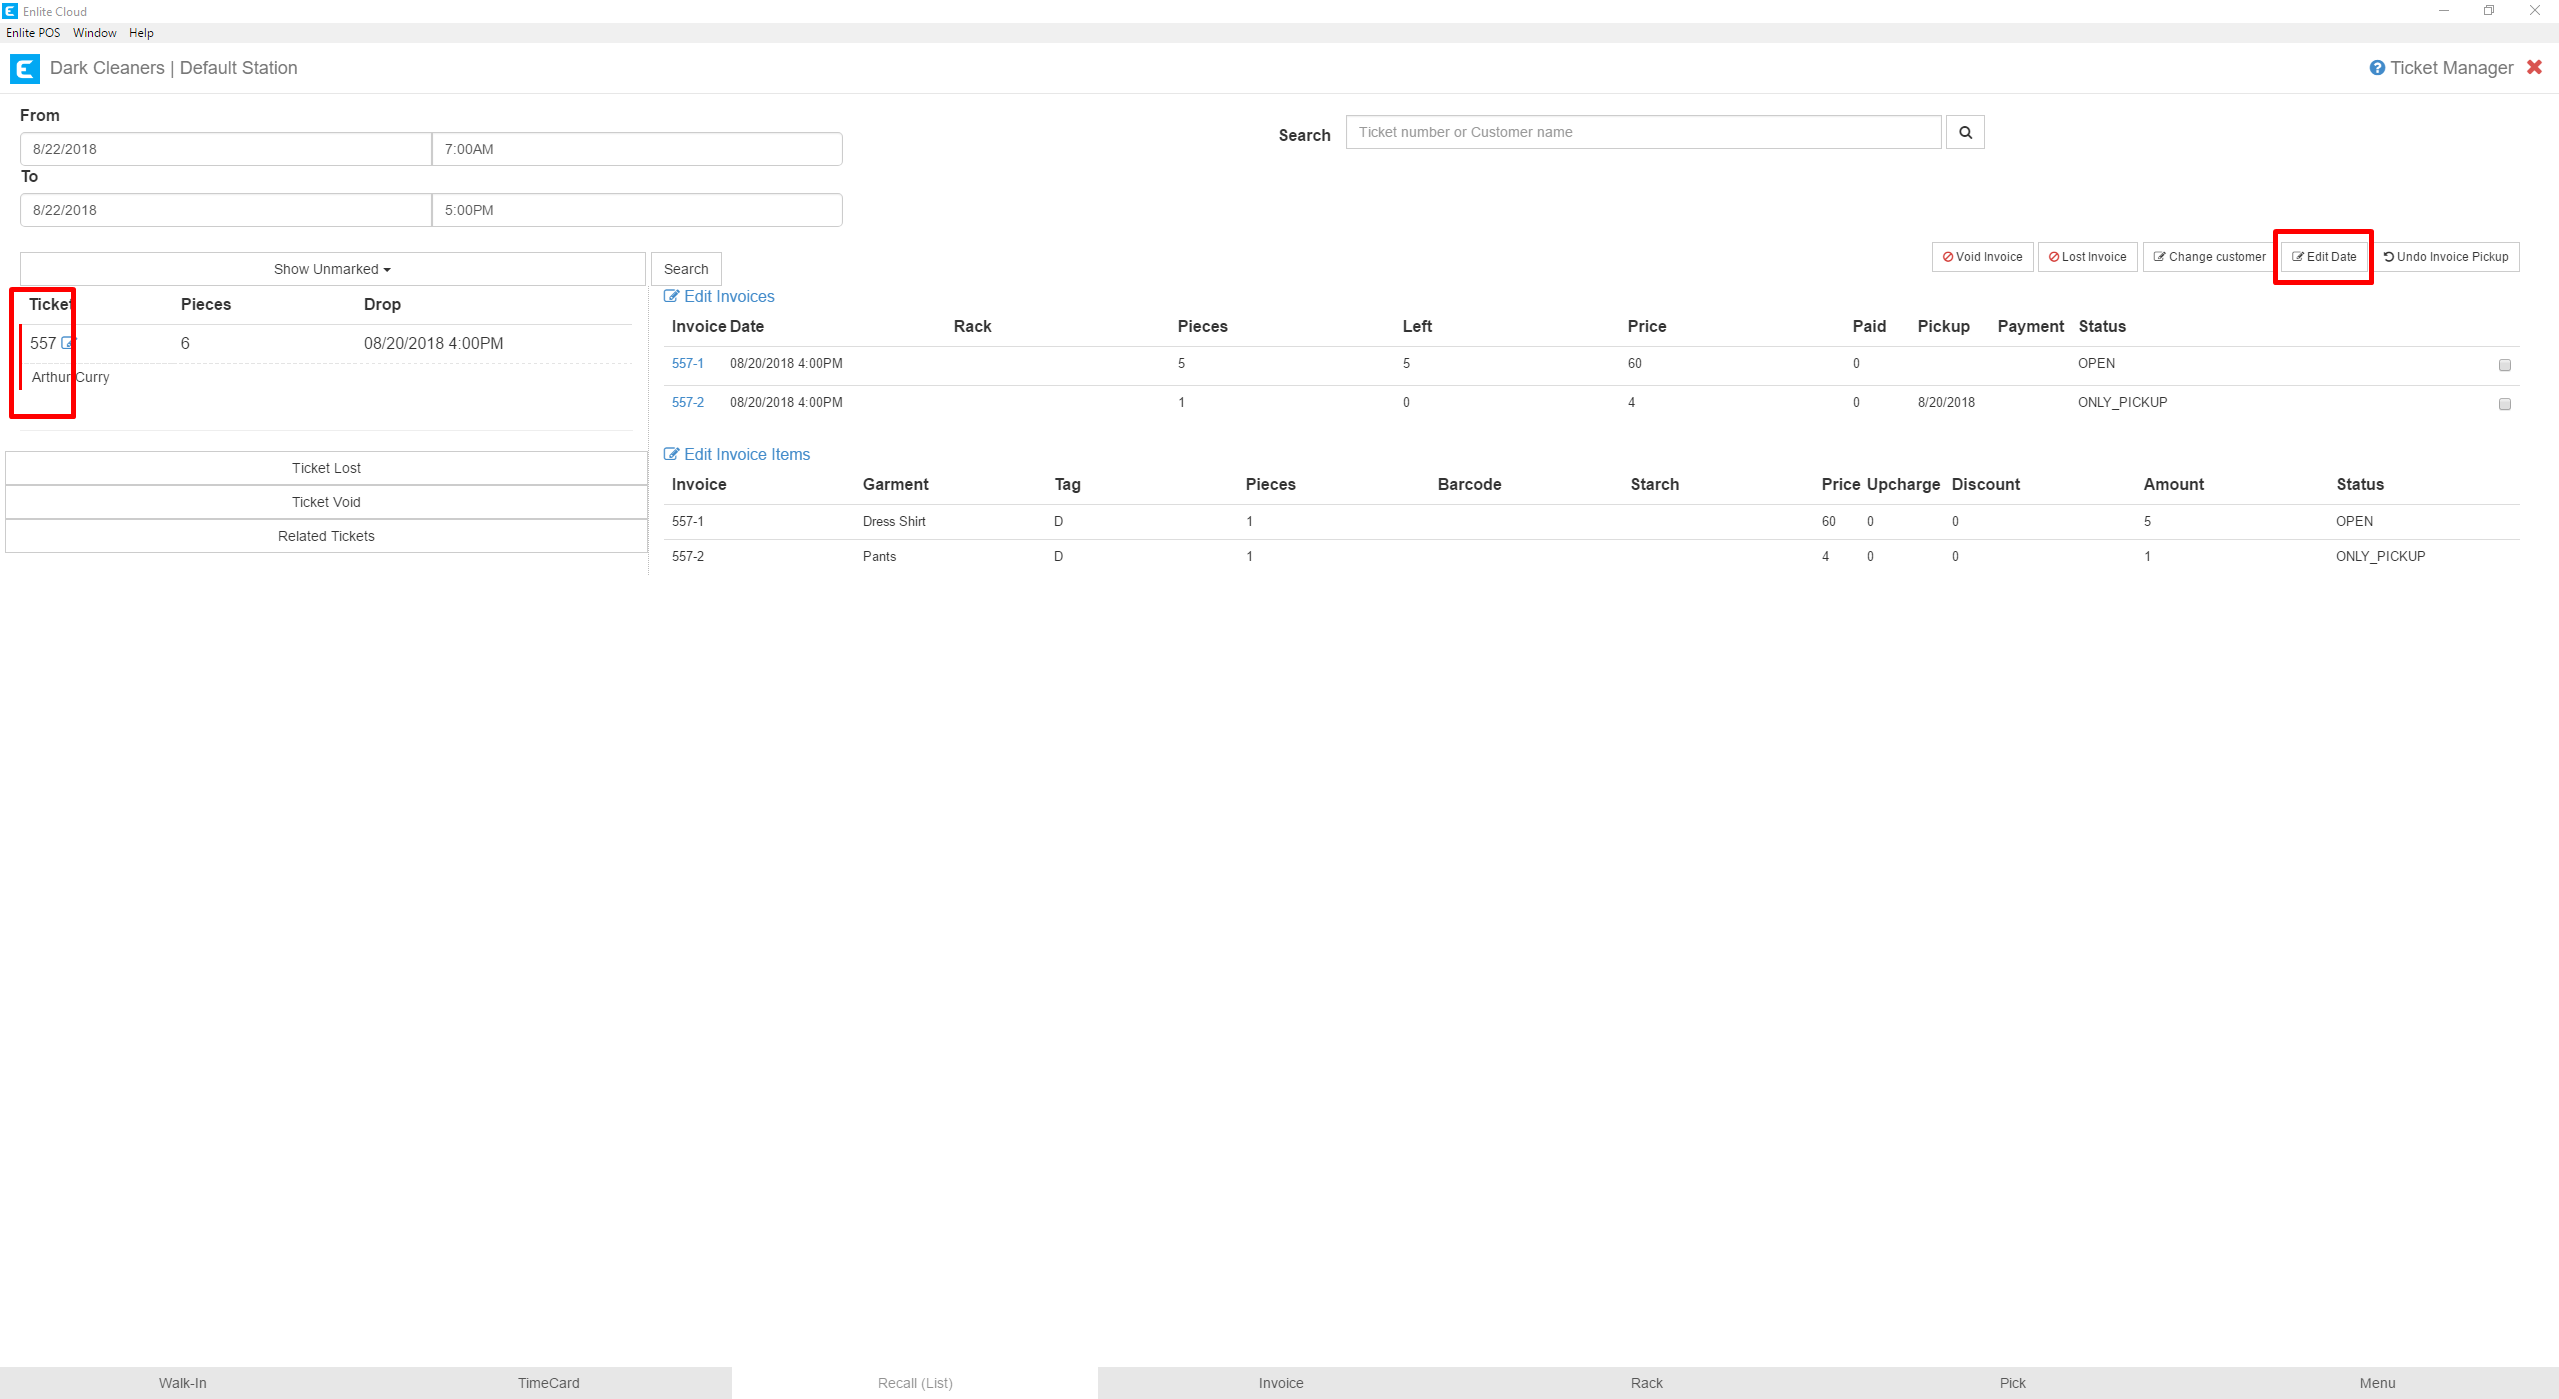
- To edit the Ticket Date, first, select the ticket. You’ll recognize the selected ticket because it will have a thin red vertical line to the left of the ticket, as shown below. Once the ticket is selected, select theEdit Datebutton.
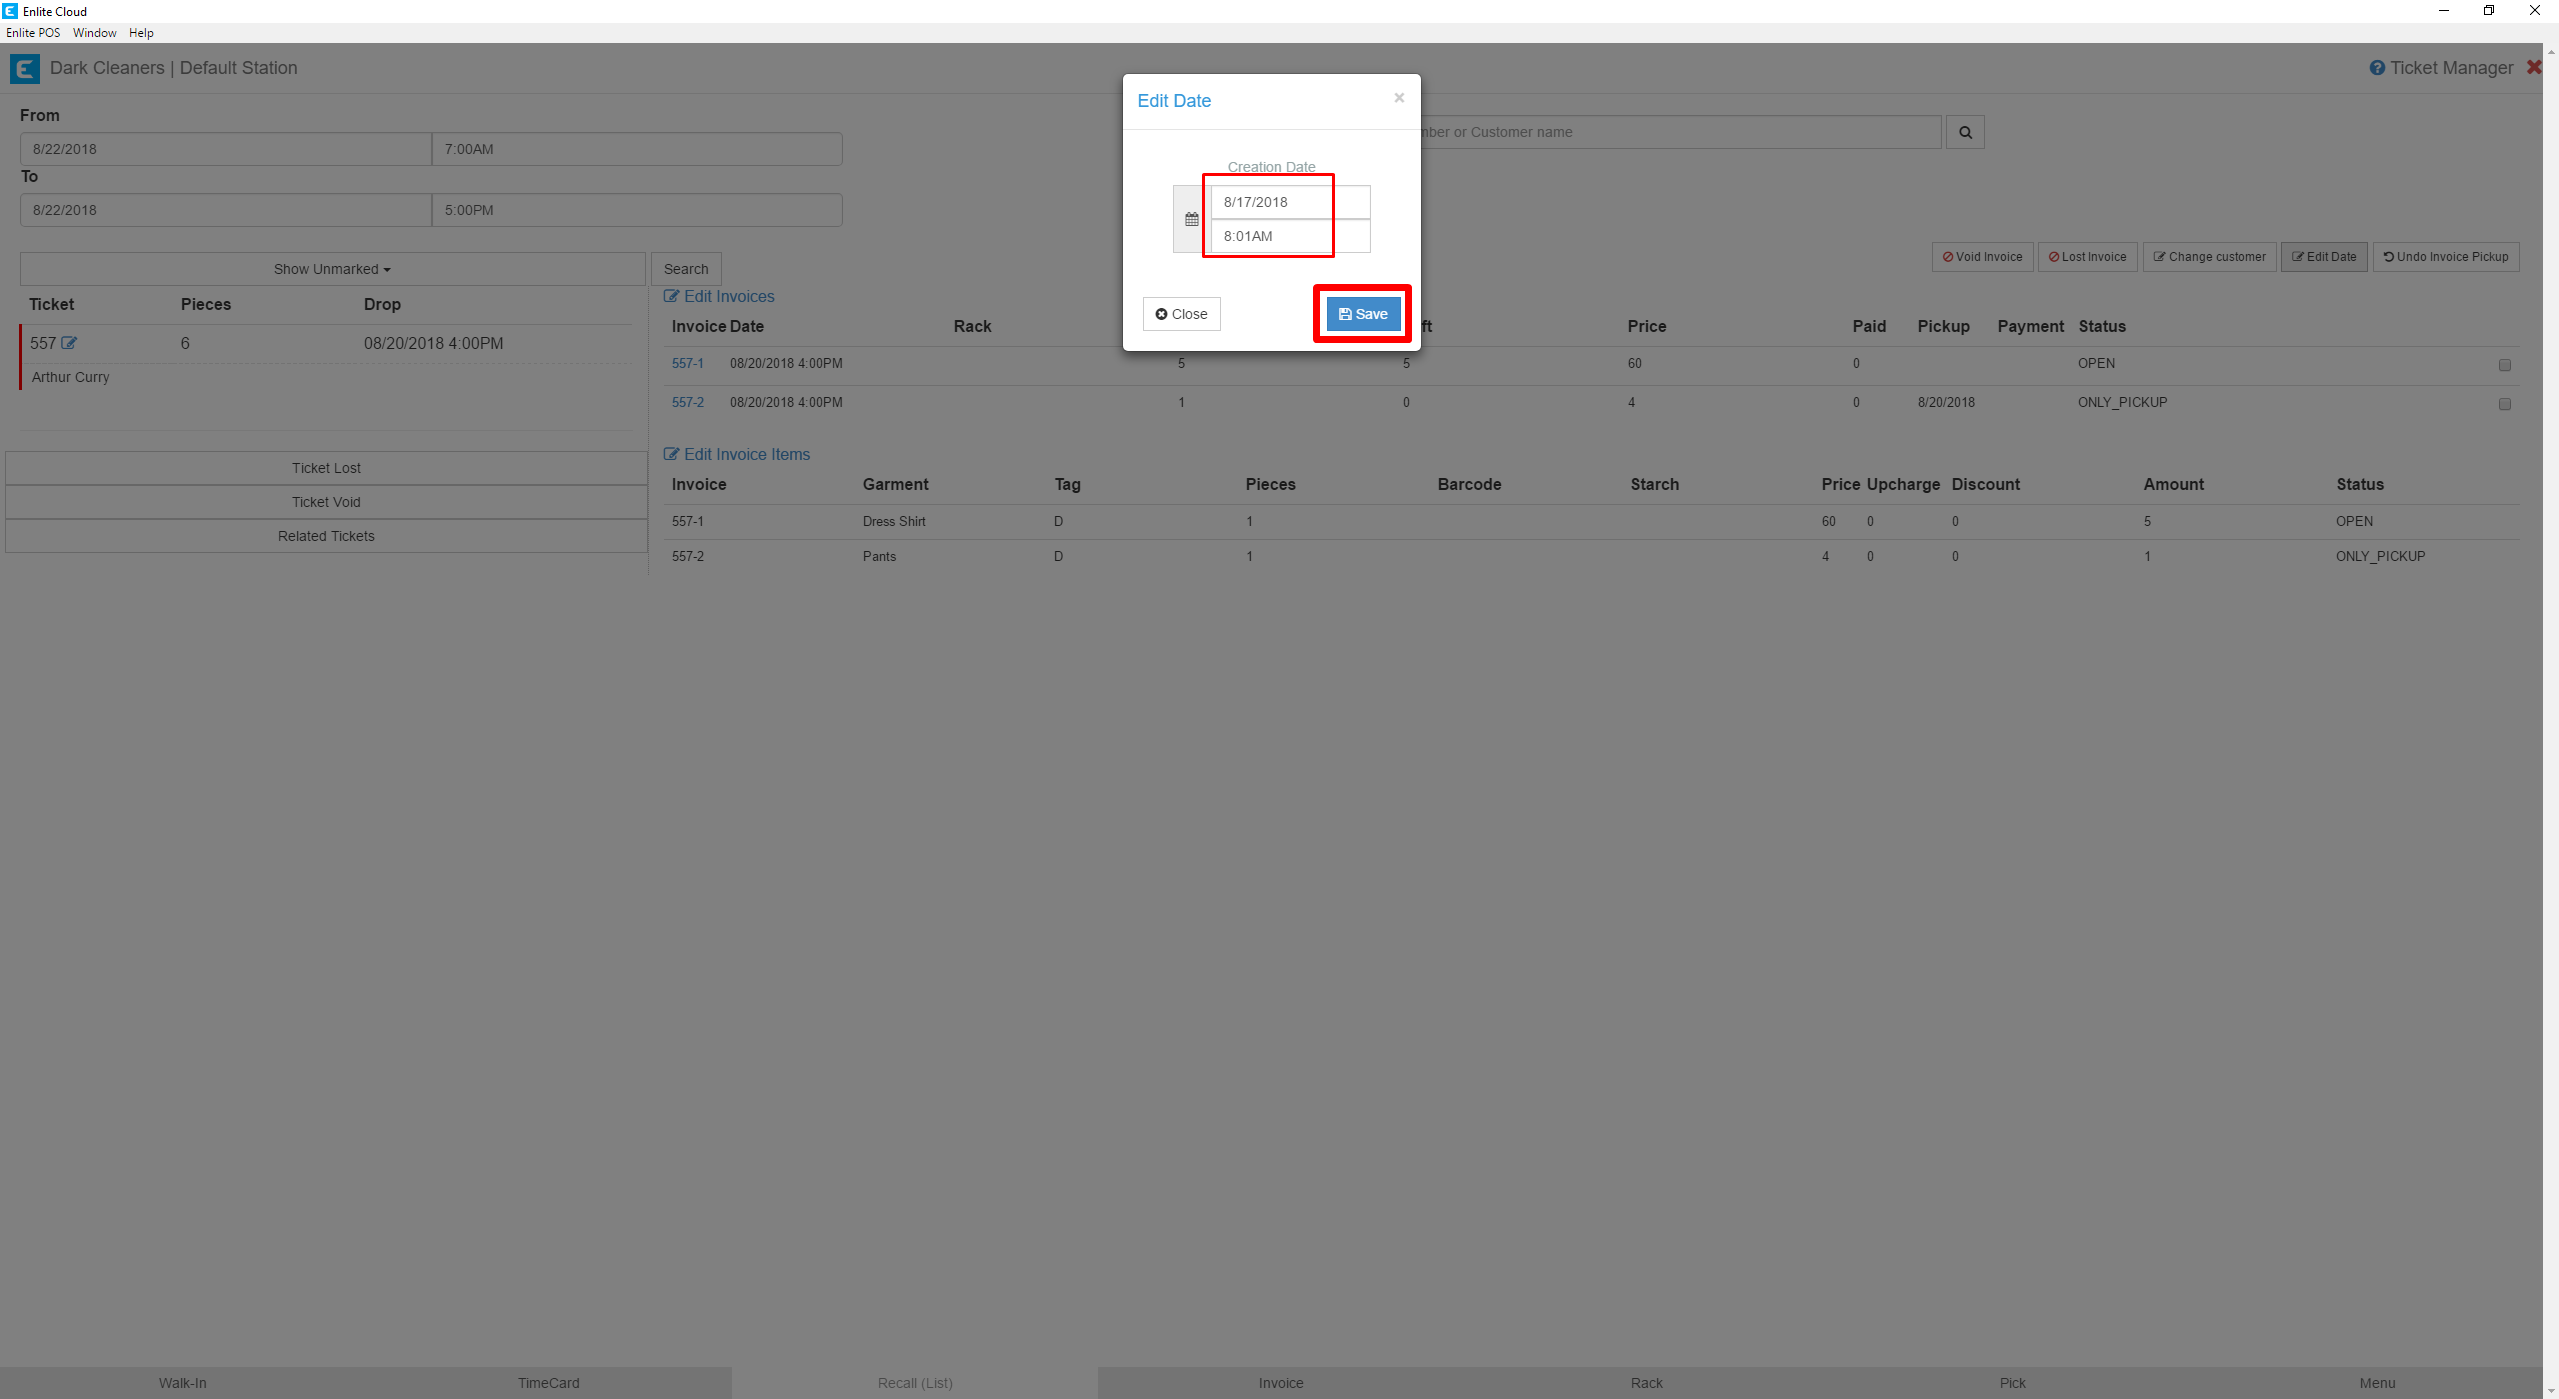
- A modal will appear with the date and time for the Creation Date of the ticket. Adjust to whatever date you need and then press the Save button to commit the changes.
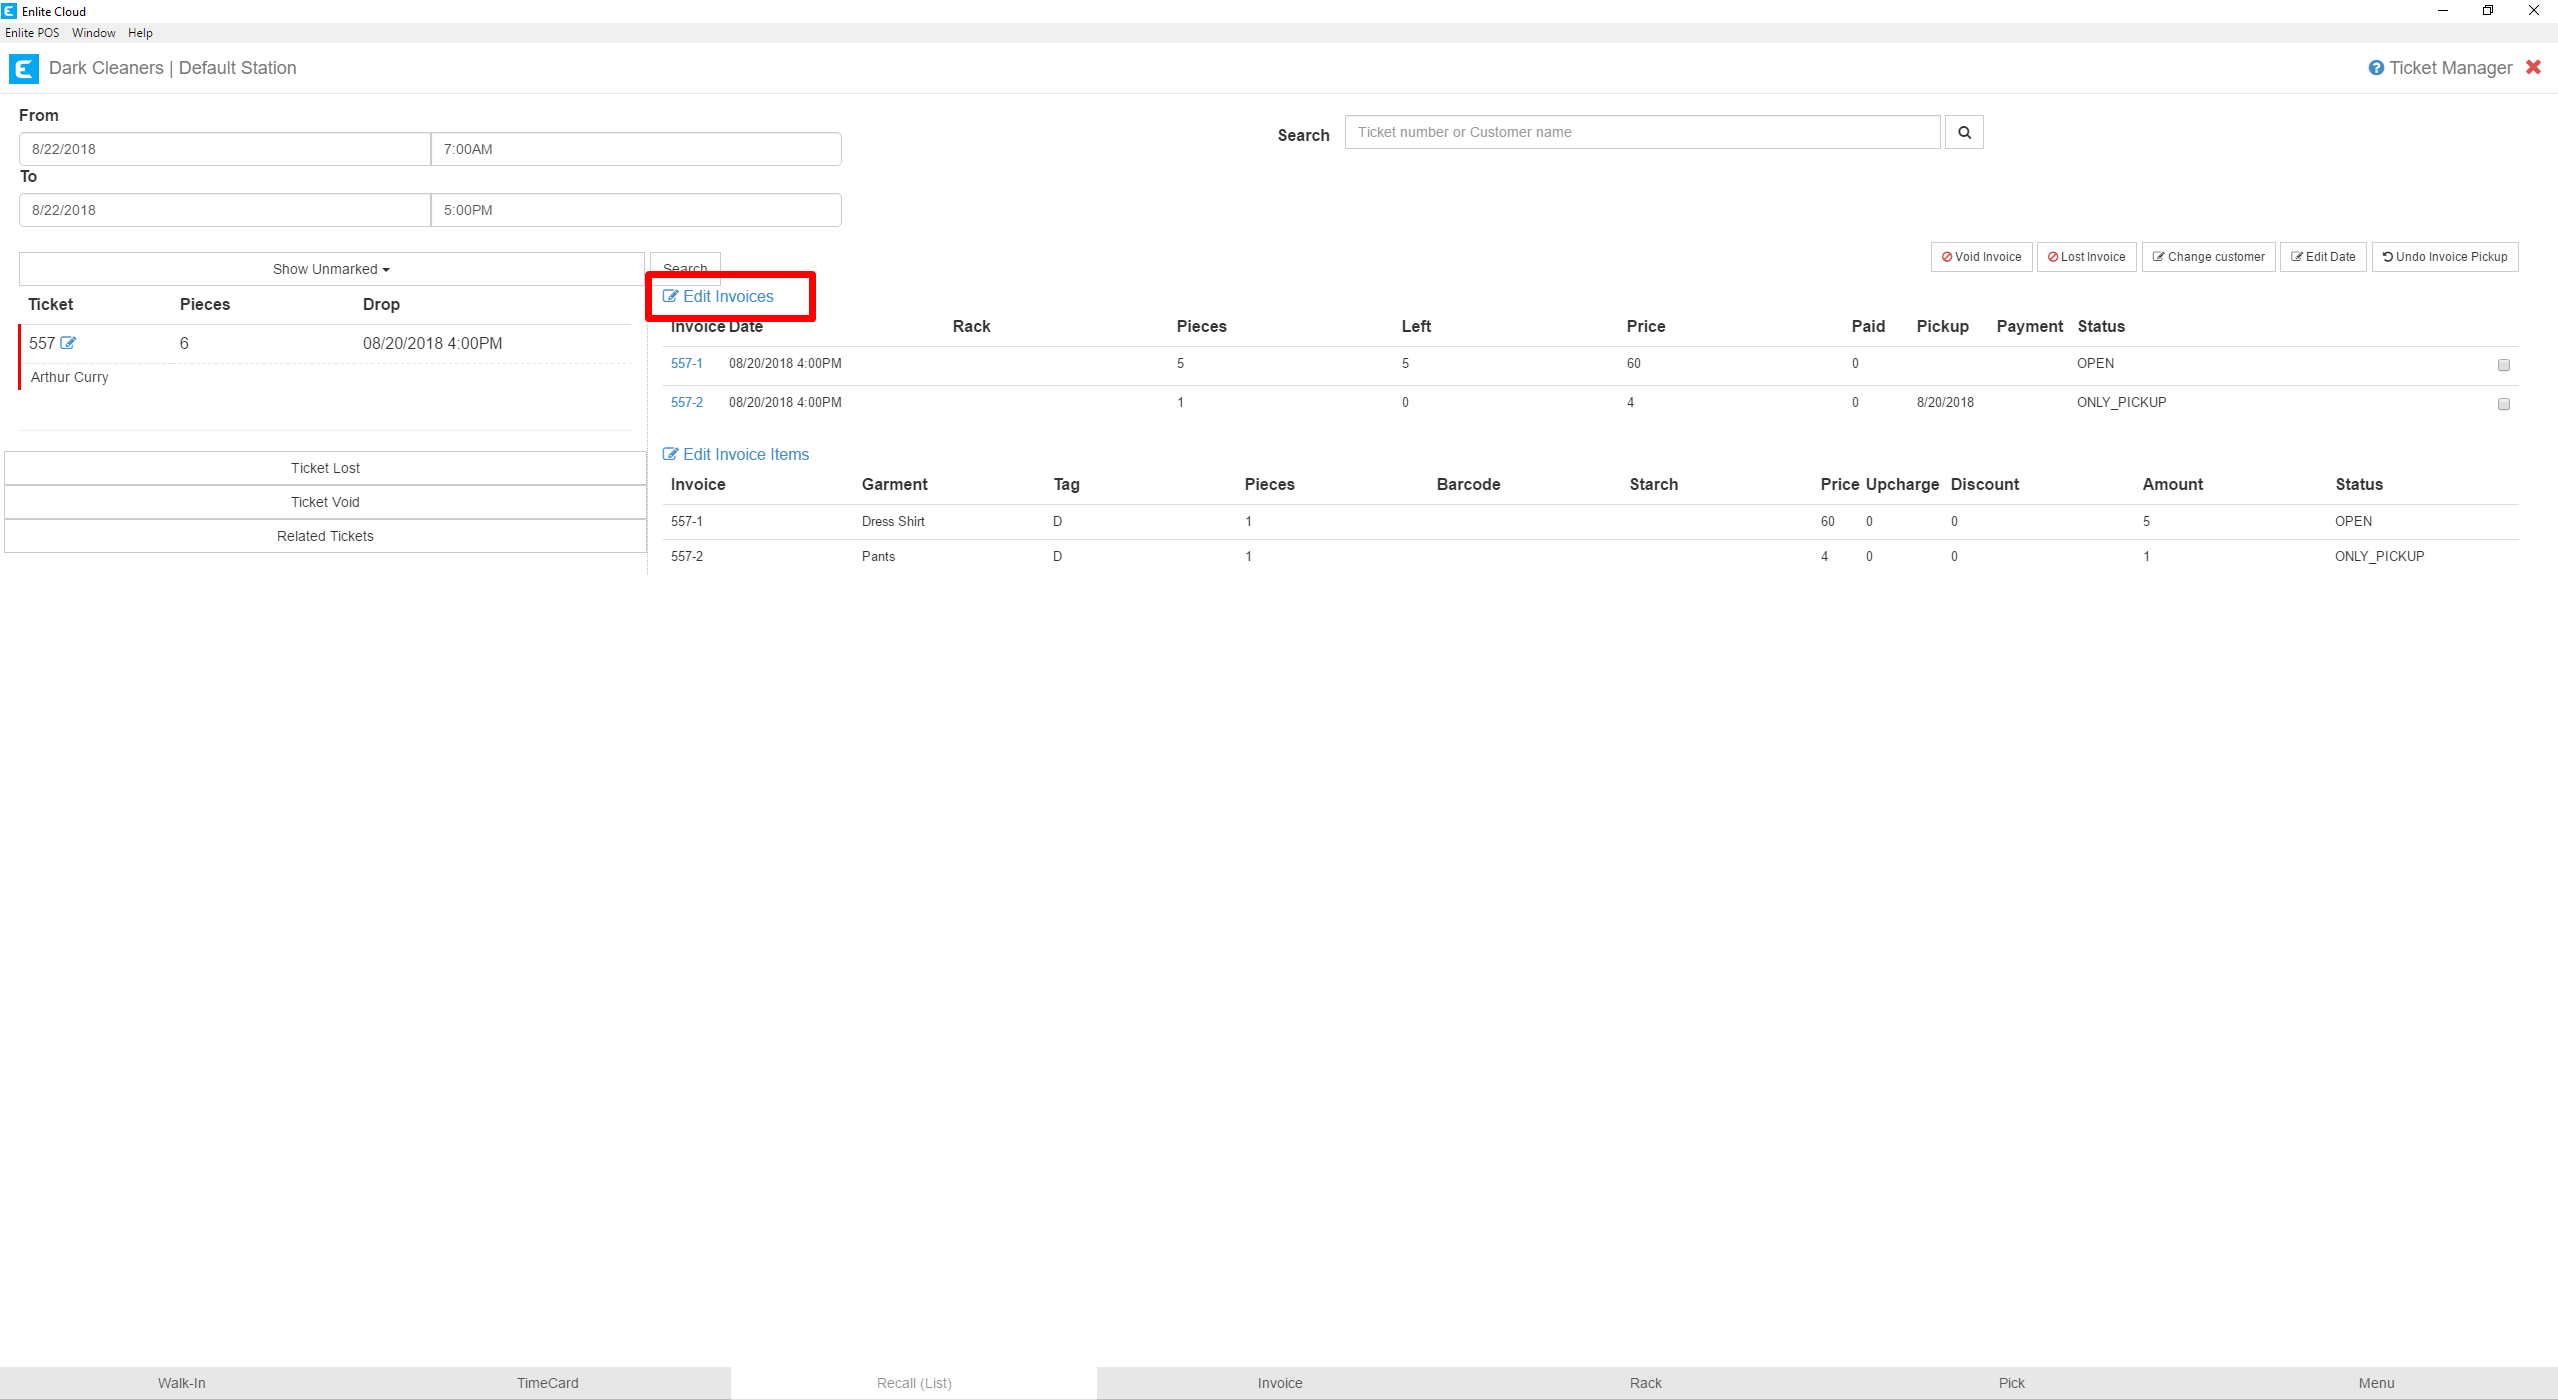
- To edit invoice creation dates, press theEdit Invoiceslink highlighted below.
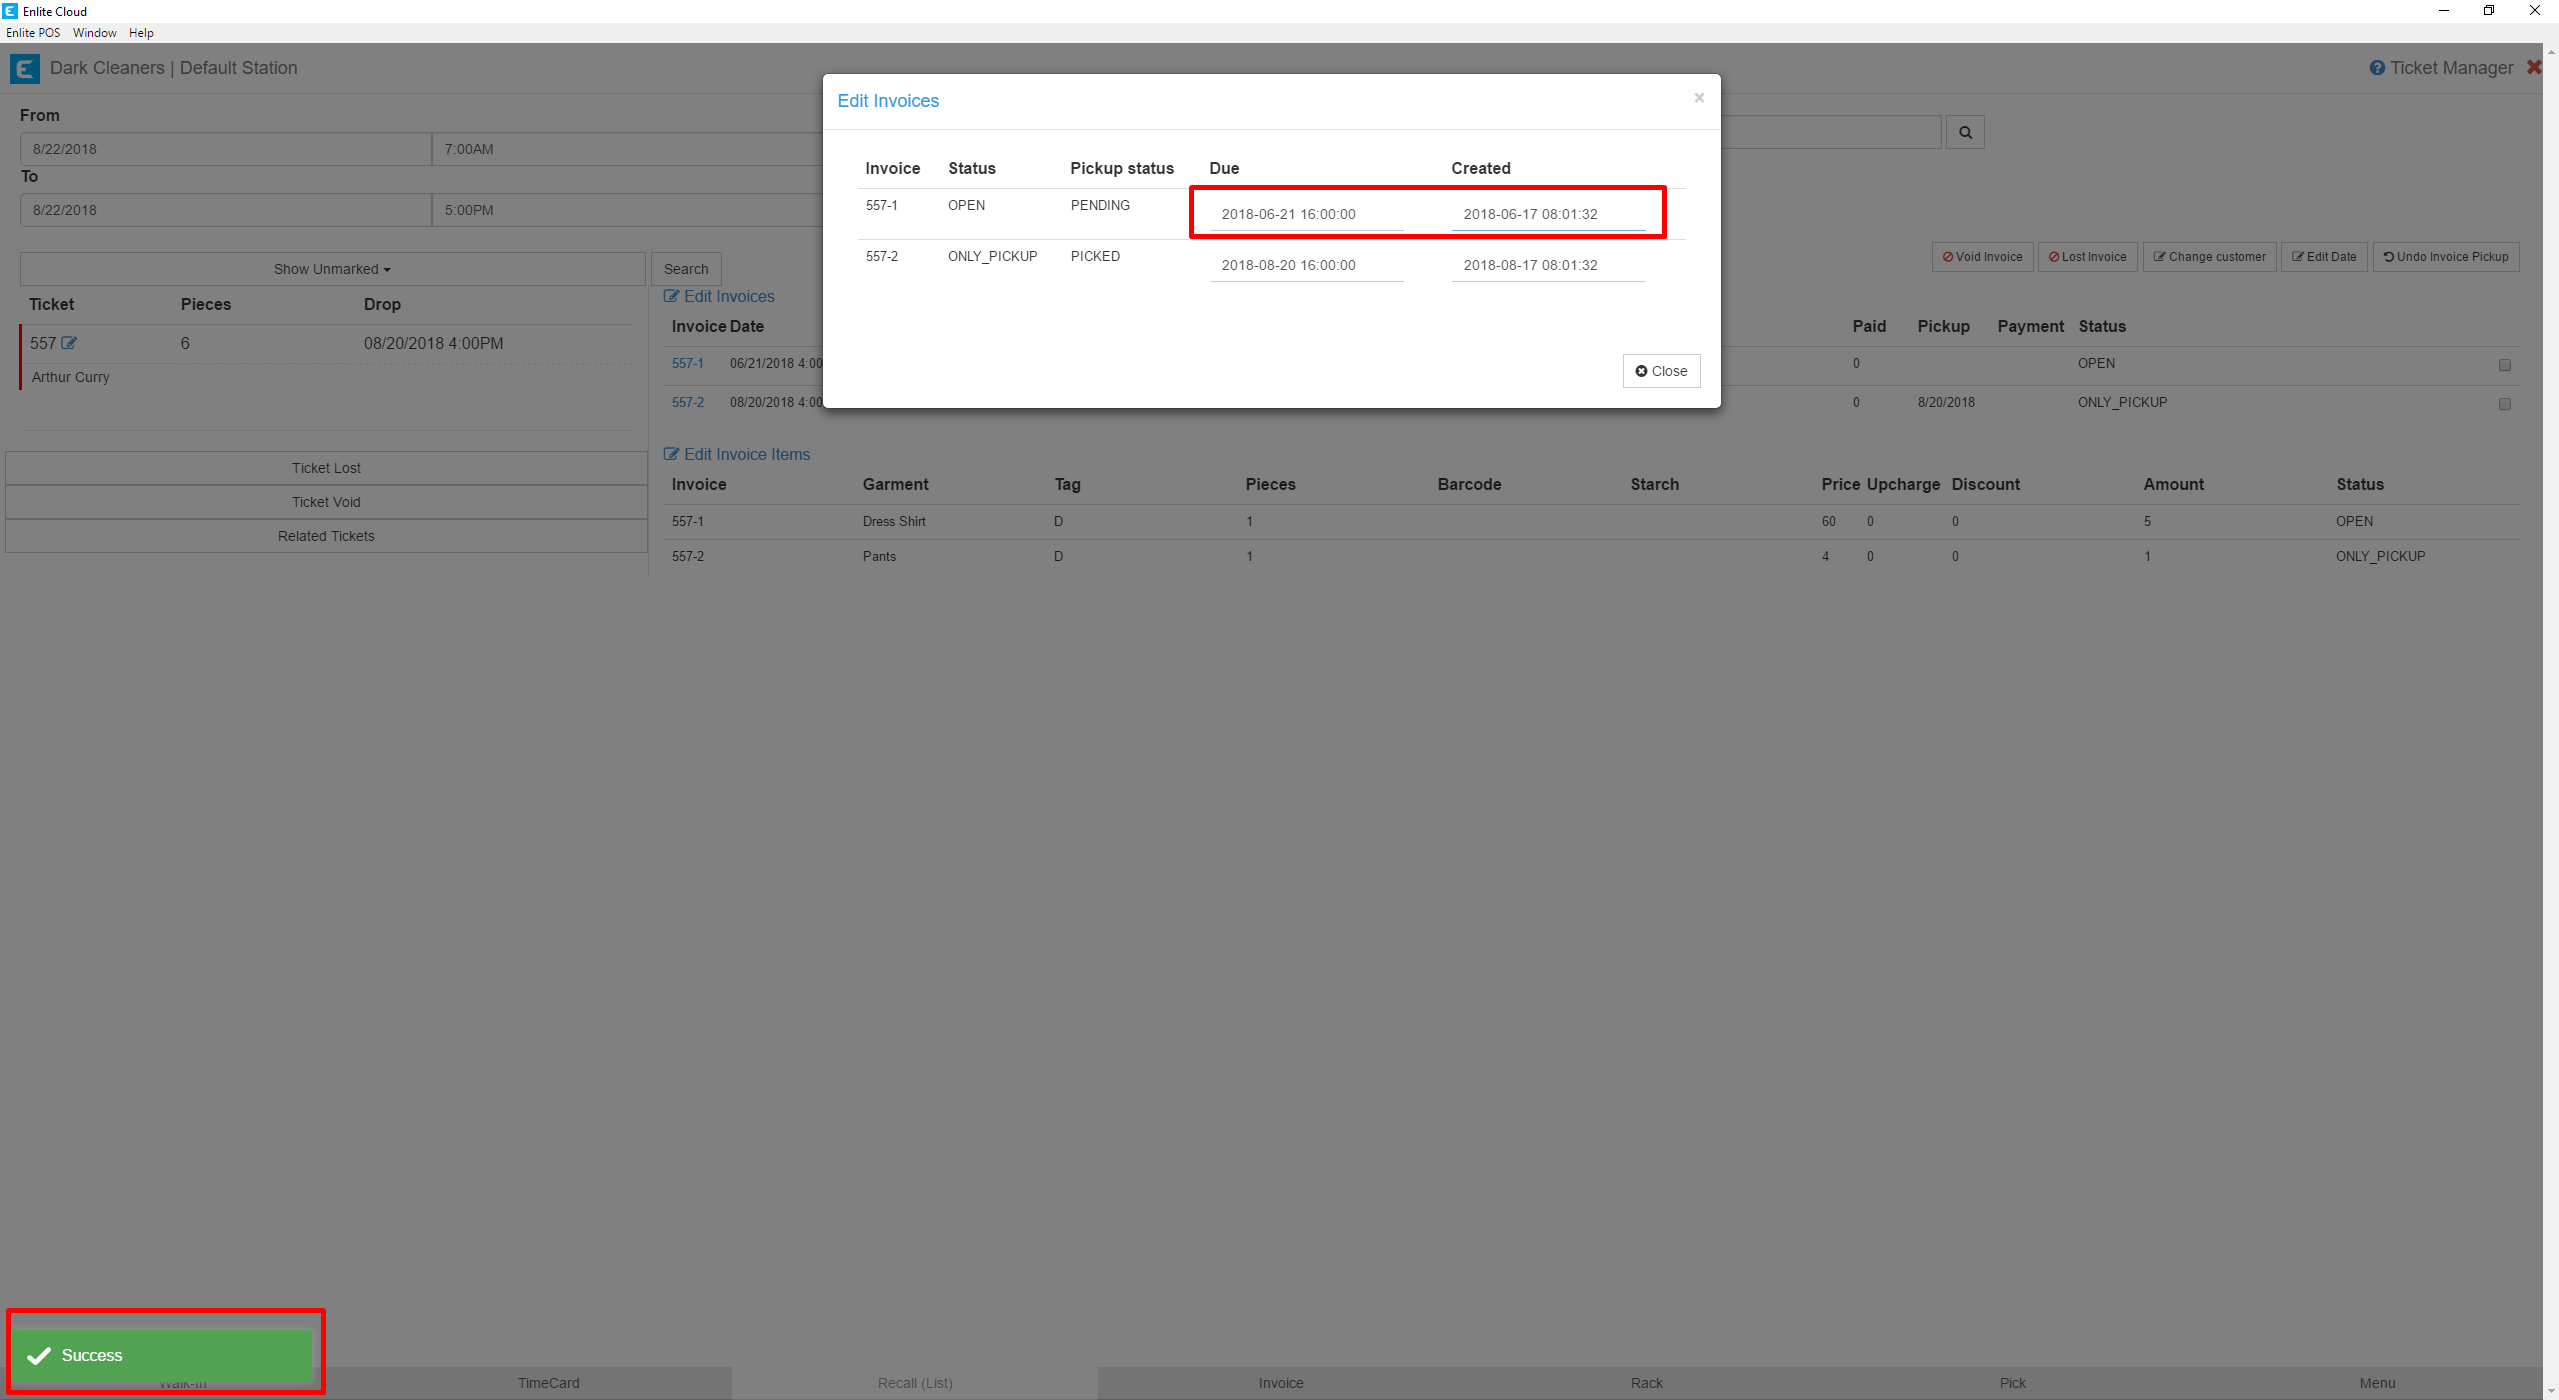
- A modal will appear where you can edit the Creation and Due Date of the invoice. When editing, be careful to maintain the format the system uses. As you edit these fields the system will automatically save. You will notice the Success confirmation on the bottom-left of the screen as you make your edits.